Evergreen – Azalea, Ace in the Hole
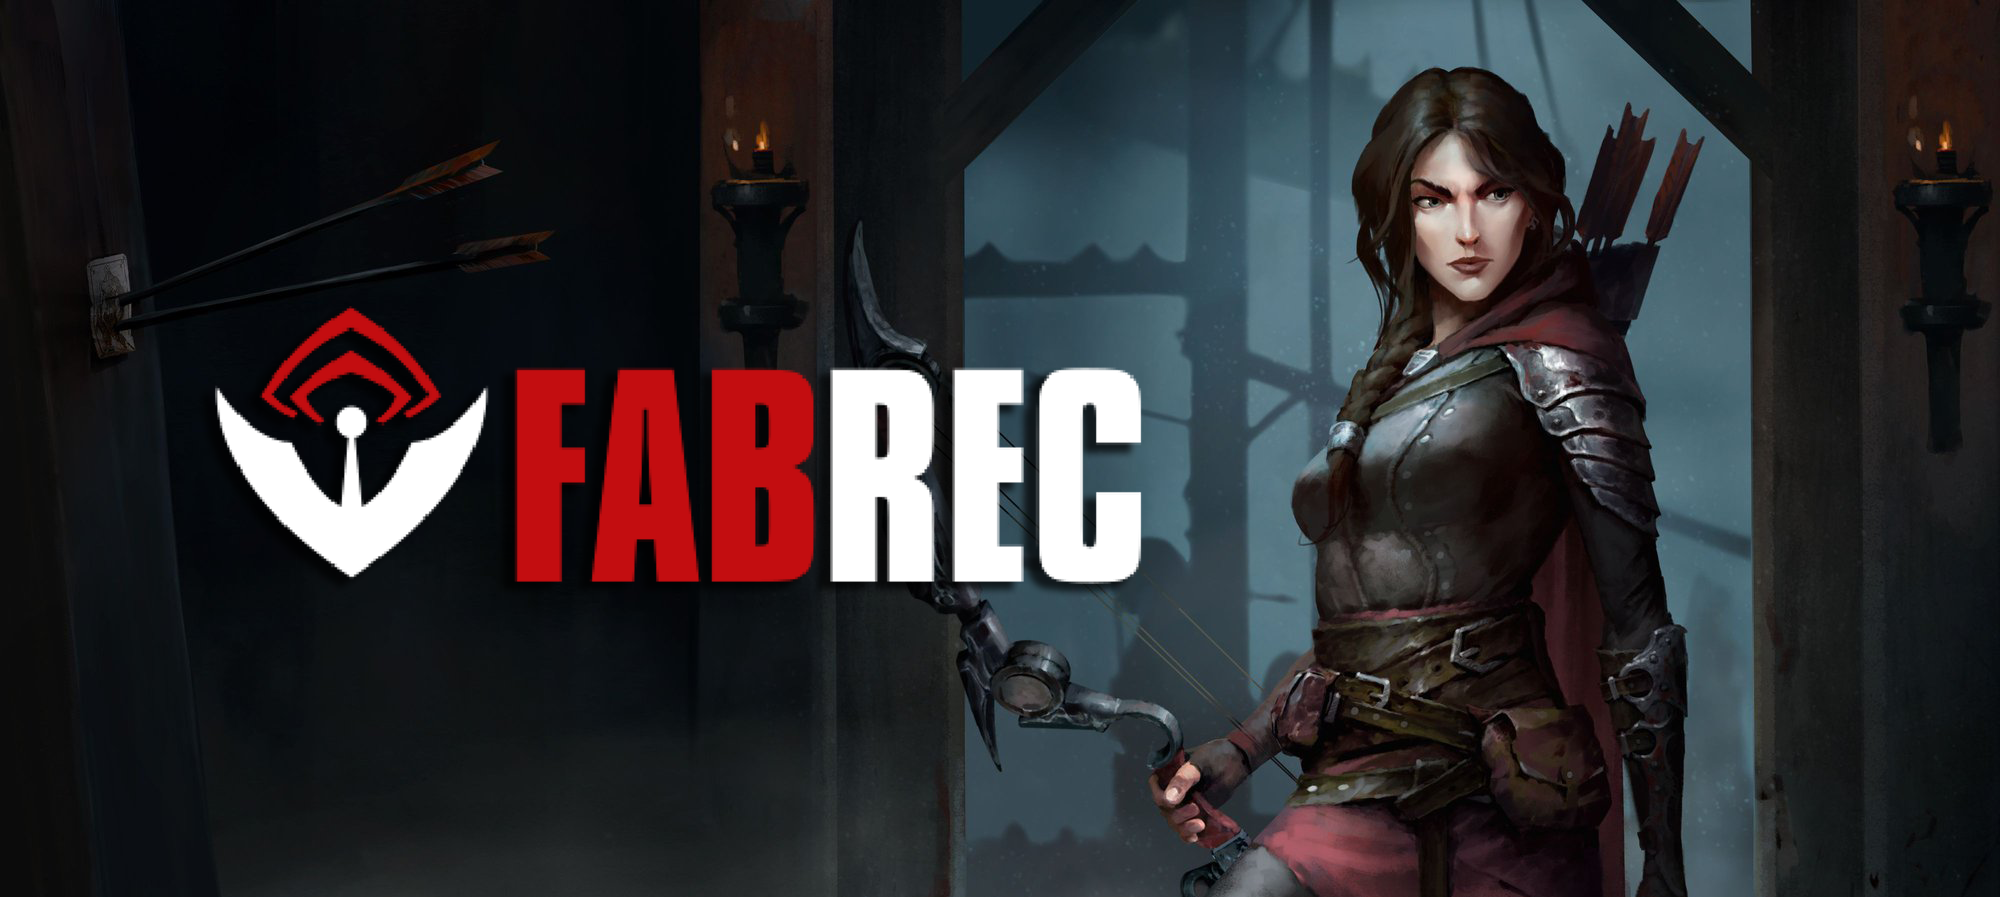
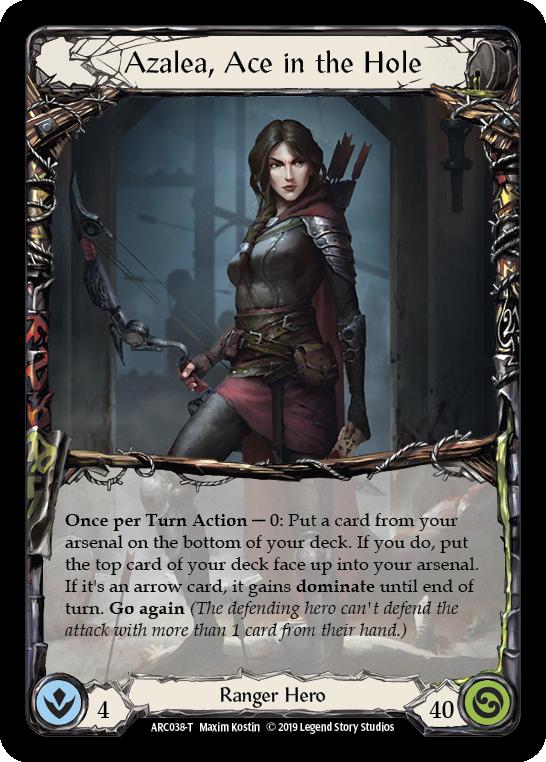
(Azalea, Ace in the Hole | Art by Maxim Kostin)
If you or a loved one has been impacted by Lexi, Livewire reaching Living Legend, you may be eligible for financial compensation.
Well, probably not, but at least there are options to keep using Codex of Frailty.
Long seen as the underdog of the Ranger class, Azalea, Ace in the Hole has reached new heights in relative obscurity. In this edition of Evergreen, you’ll learn about Flesh and Blood‘s oldest Ranger, and how to unlock her hidden potential.
“Isn’t She…Bad?”
With a meek 188 Living Legend points, it’s no secret that the path to victory with Azalea, Ace in the Hole is a labor of love. She historically has a low defense, is highly dependent on her armor pieces remaining unbroken, and can struggle into matchups where blocking is required. As a trade-off, she has access to as many as seven cards per turn, has a “free” dominate hero ability, and can put multiple turn-ending on hit effects on titanic attacks.
Using all of the tools and information you have at your disposal is a requirement to succeed with the Arcane Rising Ranger. This begins at the deckbuilding process, and I’ll use a deck constructed by Calling winner Justin Cu for reference. Observe how many of each type of card are being played here, and what percentage of the total deck they occupy.
" Azalea, Ace in the Hole by Justin Cu"
Build Back Better
A huge boost to the deck’s power is that Bull’s Eye Bracers has returned to the card pool, helping shore up some of your more difficult matchups, and making staple cards like Bolt'n'Shot more effective. This also means that a deck constructed in a post-Lexi environment will be slightly different from Justin’s, but the way the deck is constructed will remain mostly the same. This is because you generally won’t want to see more of any specific kind of card, but will have access to additional sideboard cards, and threaten a powerful endgame with Bull’s Eye Bracers.
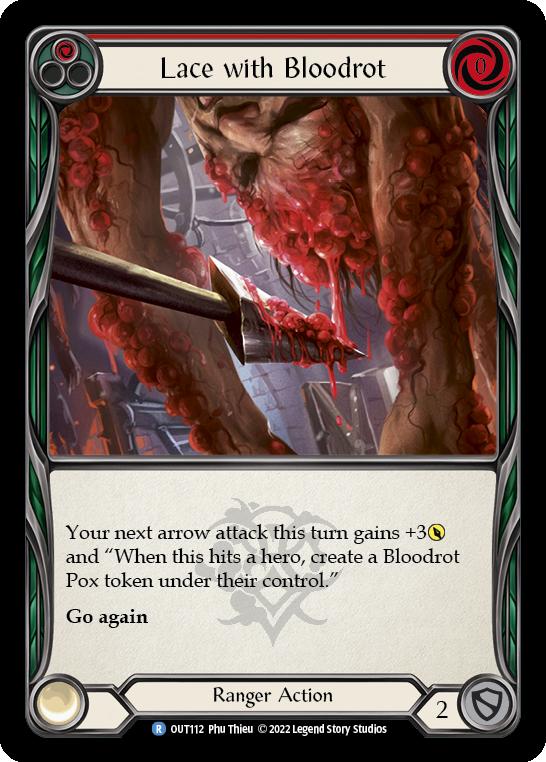
Each Azalea, Ace in the Hole deck is constructed with cards that fill three main categories: arrows, pumps, and extenders. Pumps like Lace with Bloodrot help push your arrows to damage breakpoints, making blocking difficult if your opponent wants to have a return volley; and with Azalea’s dominate ability you can even make damage unavoidable.
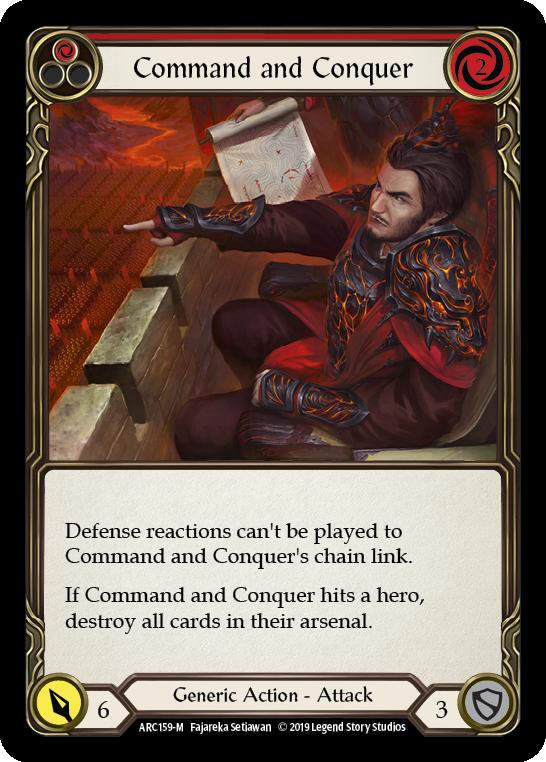
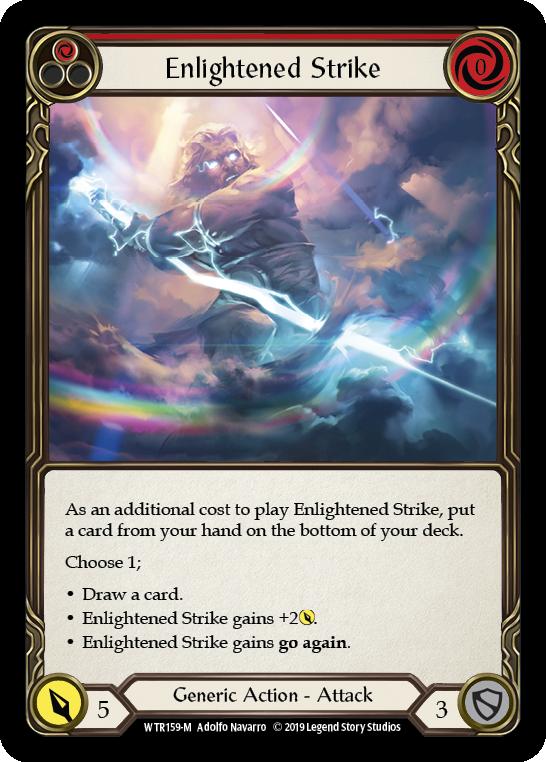
Extenders help deal with things like Dromai, Ash Artist‘s Aether Ashwings or Warmonger’s Diplomacy. You’ll commonly see Ravenous Rabble, Command and Conquer, and Enlightened Strike in this role. Since Warmonger’s Diplomacy can singlehandedly take your entire turn away, attack action cards can help you keep the pressure on while the majority of your turn’s game plan is disabled.
To build an effective deck, you must adhere to some mathematical fundamentals during construction. This ensures you draw an appropriate blend of arrow attacks, pumps for your arrows, and other cards to keep the pressure high on your opponent. Since Azalea has poor defensive capability, falling behind can result in a quick loss, so minimizing the odds of taking a turn off is required.
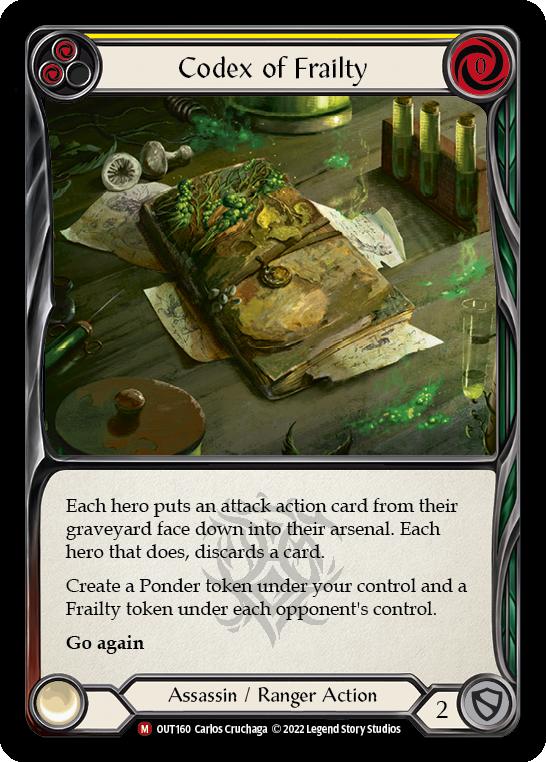
The mathematical fundamentals for deck construction are: 40% arrows, around 35% pumps, and the remainder composed of multi-role extenders or defensive options. Codex of Frailty makes it so you can play one fewer arrow for 38% in a sixty card deck, but if a round number is easier to keep in your head, do what works for you. The percentages are important to remember over hard numbers when you want to present more than sixty cards for a fatigue matchup, like Bravo, Showstopper or Uzuri, Switchblade. This is because an ideal attacking hand will have around one attacking arrow and at least one pump, but not so many pumps as to cause zero-arrow hands, and vice versa.
In order to help maintain a healthy ratio of resource-heavy turns, it’s advisable to play about eight one-cost arrows in a sixty card deck, or around 15%. The one-cost arrows are your most disruptive, so use them wisely, and try not to send them without a pump, as they’re easily defended against.
Think About Turn Twenty on Turn One
Each turn with this deck involves some amount of planning for the next turn, both offensively and defensively. You may say “Duh” while reading that, which is fair. But unlike some decks, being able to arsenal a card every turn is as important as it is in Iyslander, Stormbind.
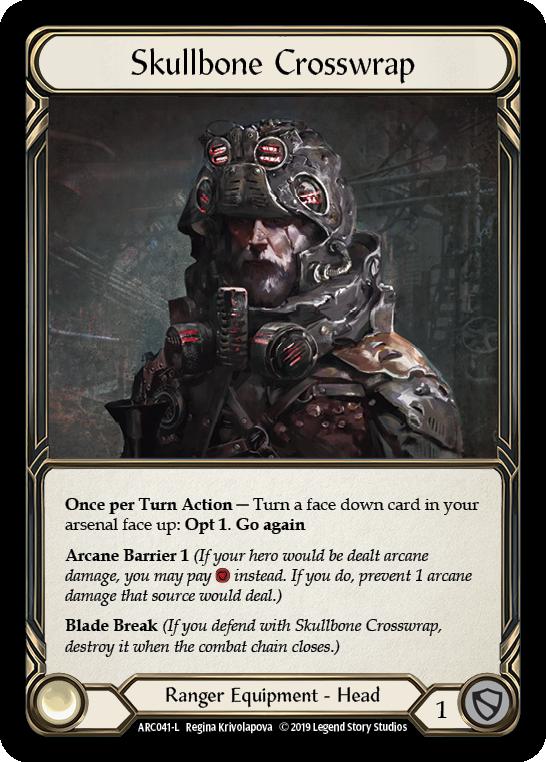
Seeing the top card of your deck with Skullbone Crosswrap has a lot of use cases, and if possible, I would generally advise using Azalea’s hero ability any time you can get value from it when starting out. The nuance of when to not use her ability will come with experience, but many newcomers to the deck don’t use her ability enough.
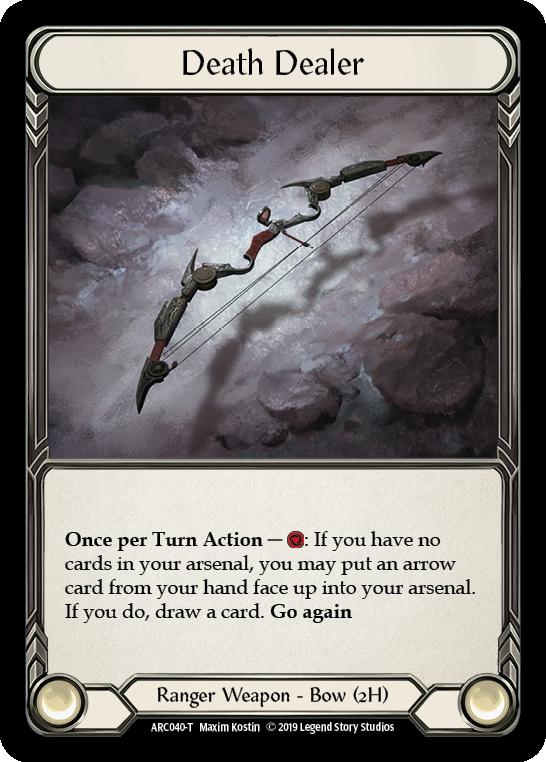
So if you have an arrow in hand and a pump on top, with an arrow in arsenal, don’t be afraid to use her ability to play the pump so you can use Death Dealer to load the arrow in hand and fire it off for additional power. Doing so can provide a net gain of two cards, and if you use Crosswrap to put a card on the bottom that isn’t good for the current turn, you’ve given yourself access to seven cards that turn! This number grows when using additional opts in cards like Read the Glide Path. Spire Sniping may not give the option to opt to the bottom, but looking even deeper into your next turn can help you sequence disruptive effects while also setting up Azalea’s dominate ability.
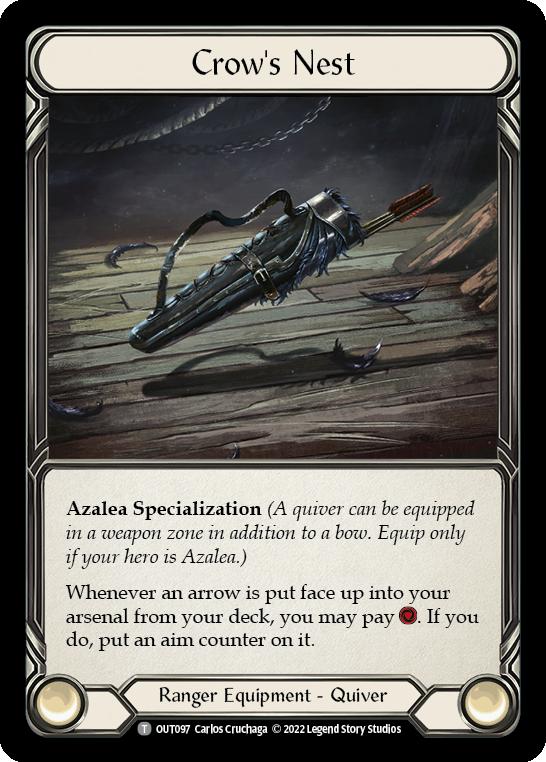
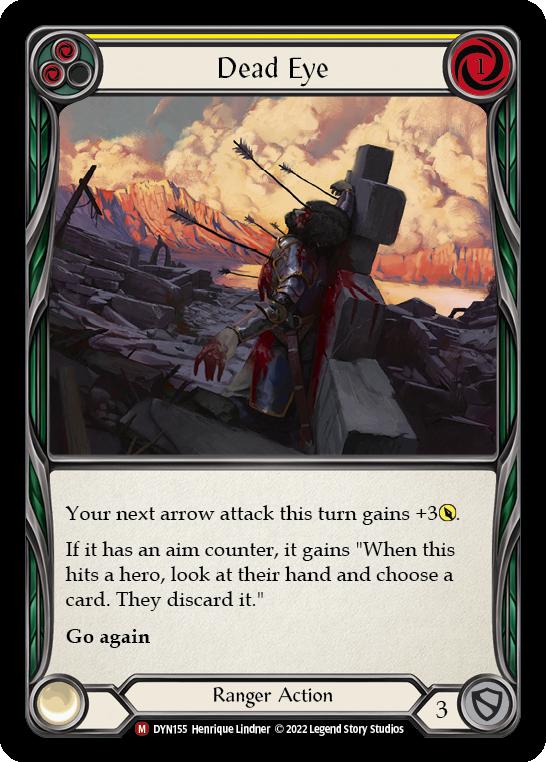
Azalea prefers yellow pitches over blue, for the benefit of Ravenous Rabble as well as the fact that you simply won’t use more than two resources in a normal turn. An additional resource to give an aim counter to an arrow to supplement Dead Eye can be worth the investment, though.
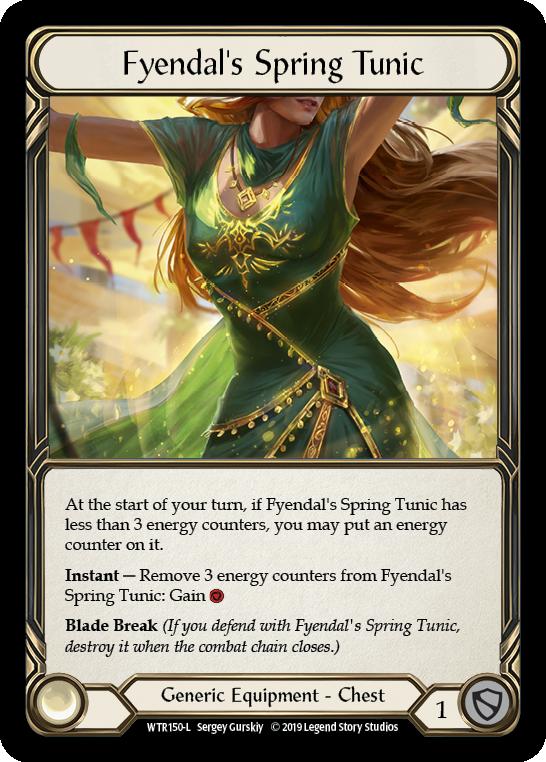
Fyendal’s Spring Tunic does a lot of heavy lifting for those rare instances when you may want a third resource, or a single resource for Death Dealer for a zero-cost arrow with a pile of pumps on them. Because of that, it’s advisable to wait until you need to use the resource from Tunic, rather than firing it off at the first opportunity.
This serves a secondary purpose as well. Since you see so many cards per turn, your second cycle comes quickly, and making sure you have a powerful second and third cycle is imperative for many matchups. You may panic at the sound of third cycle pitch stacking, but it’s simpler than you think. Just for a moment, think how many turns it takes to move through a sixty card deck seven cards at a time (eight and a half), versus the usual four (fifteen), for some perspective on how fast things move. This is a slight overestimation, considering not every turn will move seven cards deep, but some can see slightly more, so it averages out. No mind palace needed here, us renters can rest easy.
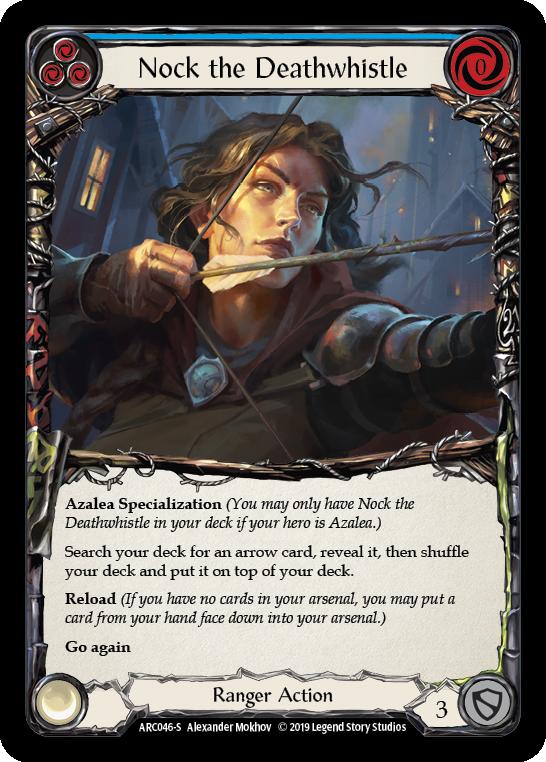
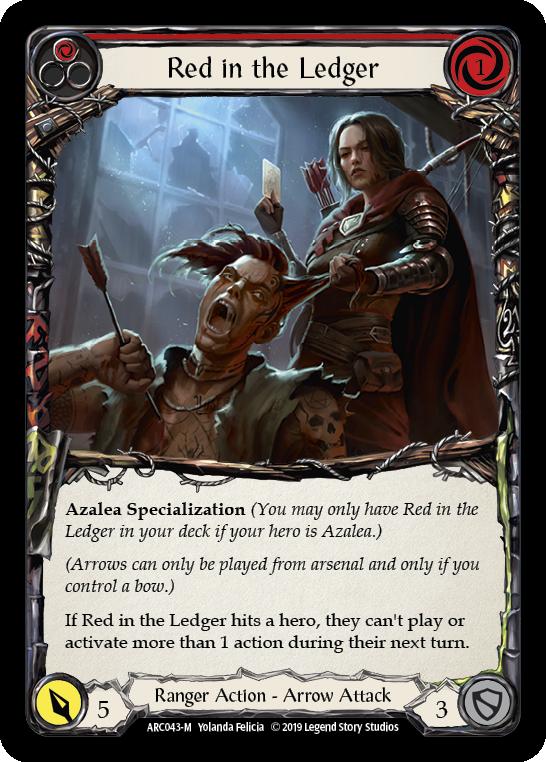
If you find yourself opting a clump of one card type to the bottom, or end up pitching a series of arrows, remember that Nock the Deathwhistle shuffles your deck. It’s generally advisable to only play Nock when it’s going to be broken, like with a dominated Red in the Ledger for fourteen damage type of play; but don’t be afraid of being disruptive while also fixing a pitch stack you’re close to drawing into.
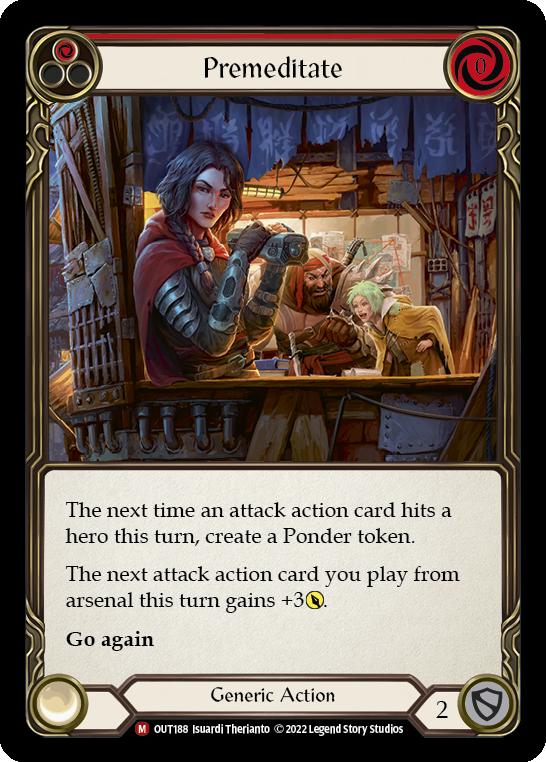
Ponder tokens are a great, albeit finite, way to keep the cards flowing and making sure you always have an arsenal at your end step, especially when you’re trying to push damage over the top of a high defense deck. Make these as robust as possible, and only give yourself multiple Ponders if it’s unavoidable for your regular game plan. Codex of Frailty serves the additional purpose of being a resource option in an Azalea deck, and pitching them to use in a later turn can give you a long-term competitive edge. Enlightened Strike‘s “Draw a card” mode replaces the card used to pay for its cost, giving you an effect similar to a Ponder token as well. There’s no card quite like Enlightened Strike.
What’s in Your Quiver?
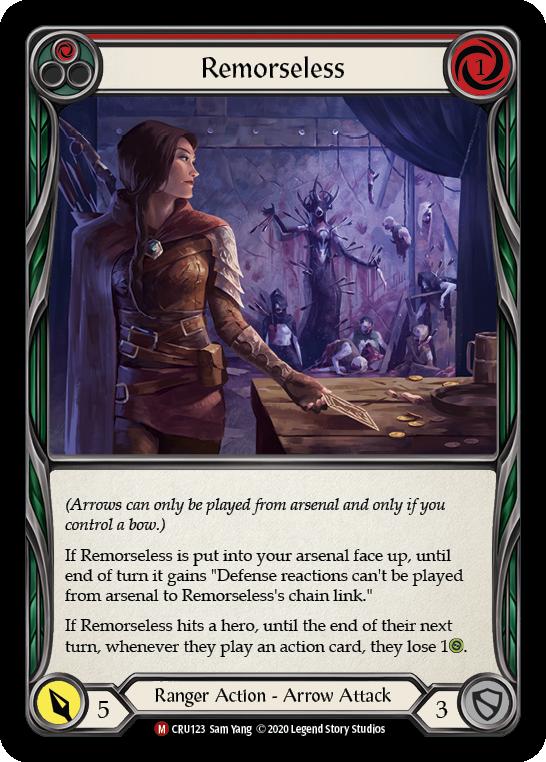
Step one of disrupting your opponent is making sure the effects you’re presenting matter to them. A Bravo, Showstopper may not be concerned with Sleep Dart taking away his hero ability as he Pummels a Crippling Crush into your dome, but a Dromai, Ash Artist will absolutely care about her dragons losing go again. Remorseless, while universally powerful like Infecting Shot, has particular use against Viserai, Rune Blood or Katsu, the Wanderer. It’s difficult for them to simply take five or more from the arrow and then take four more on their turn trying to swing back.
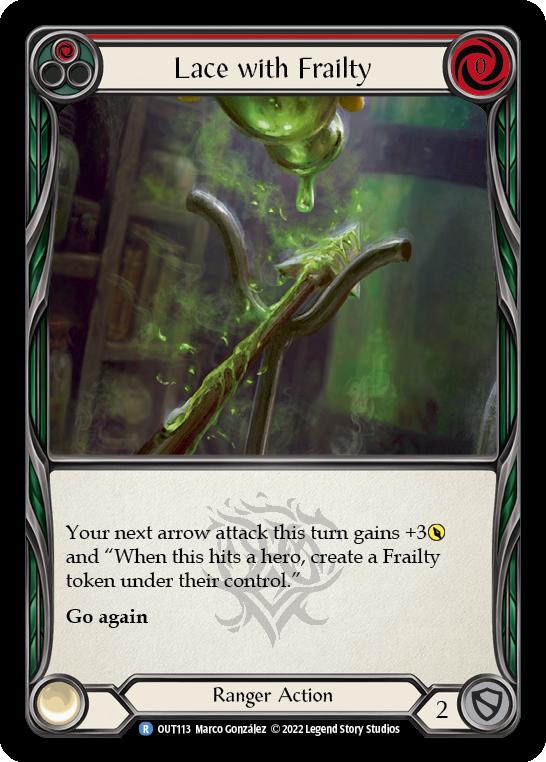
Bolt'n'Shot is a nine-of because it’s the best card in the deck. Gaining go again and the “on hit, reload” on pump are almost universally bad for your opponents, especially if you’re pumping it with things that grant additional on hits, like Lace with Frailty. Just because it may not say “take away your opponent’s birthday” like other arrows, don’t underestimate how much pressure it puts your opponent under. Use this to your advantage.
Searing Shot is usually a one-of in the deck, as it’s a zero-cost arrow that presents five damage as a base, and is an excellent pressure point in the late game off the back of either Nock the Deathwhistle or Codex of Frailty. Since it’s only damage, you only want that on hit effect when it really counts.
If You Get Hate Mail, You’re Doing it Right
A simple way to measure the impact of an effect is in how many cards you can take away from your opponent. For example, if you dominate a Red in the Ledger with Azalea’s hero ability and attack for eleven with two pumps, your opponent can only block with one card from hand, and attack back with one action. This could strand them with as many as three additional cards, meaning you took three cards from them. This is a massive advantage. Alternatively, if you attack them with a regular Red in the Ledger for fourteen, and they block with all of their cards, they still got to use every card, and therefore you barely disrupted them at all. There is nuance in this statement, but it’s a good starting point.
To the same point, don’t be afraid to block with excess arrows in your hands, ending your turn with cards in hand after an arsenal is also a lost opportunity.
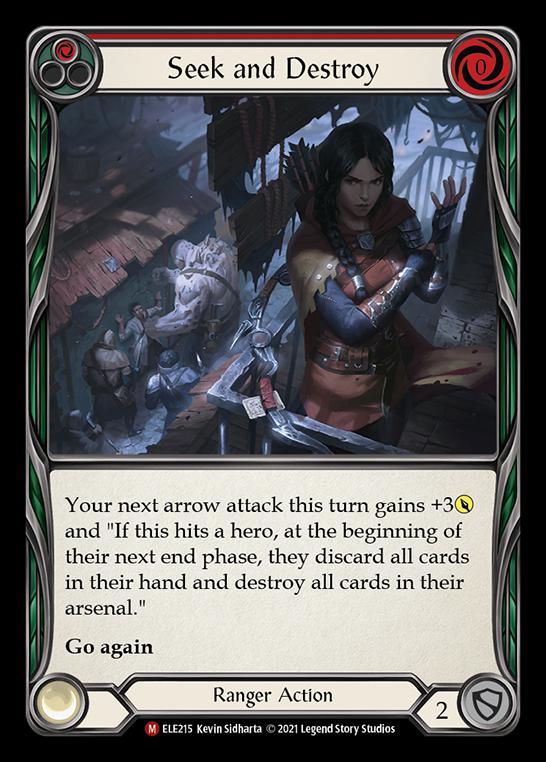
Mastering the pacing of disruption, while accounting for the variance of being unable to disrupt your opponent every turn, is the biggest hurdle of a fledgling Azalea pilot. Another way value can be lost is in redundant on hit effects. If you play two Seek and Destroy and a Lace with Inertia on a single arrow against Iyslander, Stormbind, you lost two opportunities to deny them an arsenal in later turns. This can have devastating consequences that may be difficult to immediately see. Only stack effects like that when absolutely necessary.
Always Have a Plan B
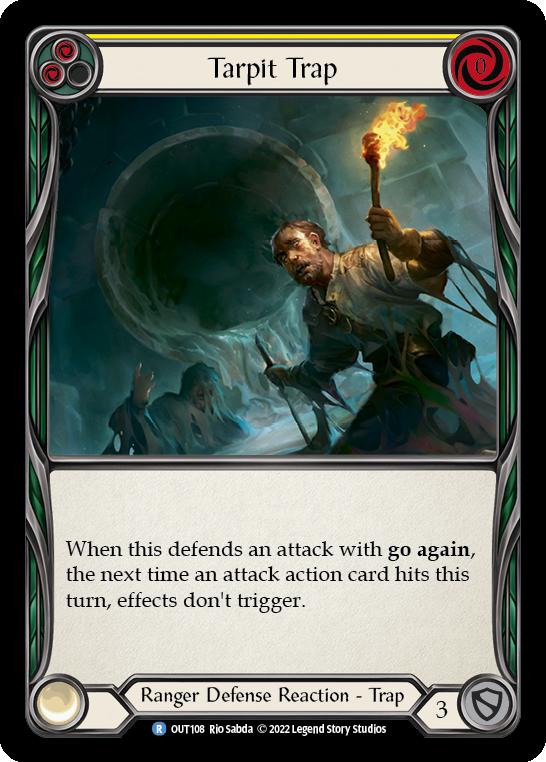
Frankly, things won’t always go your way when playing a high variance hero with a weapon that can’t attack on its own. You’ll need to be ready to claw back into a game you feel slipping away. Tarpit Trap can help save you from a relevant on hit in Katsu, the Wanderer, or another Azalea, Ace in the Hole‘s Bolt'n'Shot with a pile of on hit effects. Dromai, Ash Artist can be one of your hardest matchups, so having six power “poppers” to destroy dragons with the Aether Ashwing‘s Phantasm text can help steal momentum from your opponent, while notable popper Command and Conquer is a use case for when you’re locked down under Warmonger’s Diplomacy.
For a deck as interactive as this one, the best teacher is experience. So don’t be afraid to go out there and try it out! There’s no such thing as a free matchup, so be ready to fight for every win, but Legend Story Studios is crafting a masterpiece of a game that has less and less of that baked into it, so finding something you love and learning it inside and out will take you far.
I hope you enjoyed this edition of Evergreen! Let me know what you thought. And if you end up falling for Azalea, welcome to the gang.
