Ira in Commoner – Part 1: Ira, My Way
December 27, 2023 by
Daniel Yam 

(Zephyr Needle | Art by Cristian Huerta)
Hello everyone, and welcome back to my series of deep dives into Commoner decks for Flesh and Blood. This week I’ll be taking a look at the first hero, and the original menace of 40-card formats: Ira, Crimson Haze.
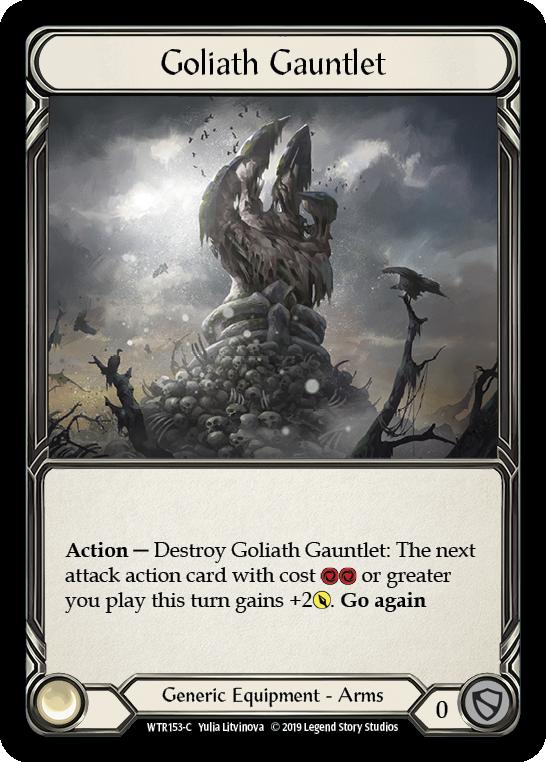
When it comes to Ira’s strengths, consistency is the name of the game. Being able to put out a consistent range of high damage numbers while also defending well enough on the opponent’s turn is a key asset, and a big draw to playing the deck. While the recent banning of Stubby Hammerers in Commoner may seem like a blow to the deck’s damage and power, the builds of Ira that leveraged the explosive potential of Hammerers were less consistent in terms of damage output versus the lists running Goliath Gauntlet.
The Deck
The beauty of a hero like Ira is that she can be built in a variety of ways. And while my list may differ from yours by a few cards, there are so many viable cards to include that there really is no one correct answer. Without further ado, this is Ira, my way.
" Champion by Daniel Yam"


Equipment & Weapons
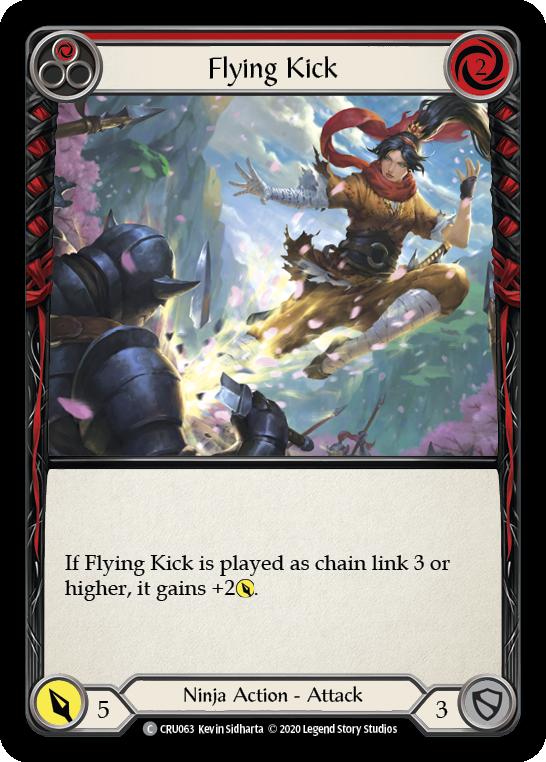
Quickly going over the equipment lineup. I really like the pairing of Heartened Cross Strap and Goliath Gauntlet, essentially cheating on four pitch worth of resources to play out a large empowered attack while synergizing with Harmonized Kodachis almost seamlessly. It’s effective at starting a chain with something like Surging Strike or ending the turn with Flying Kick. An important note is that while Ira’s ability doesn’t care about chain links, many of the best cards in the deck do. So it’s highly beneficial to crack both pieces of gear if intended before attacking with Kodachi, as taking the action to activate either piece of equipment will close the combat chain.
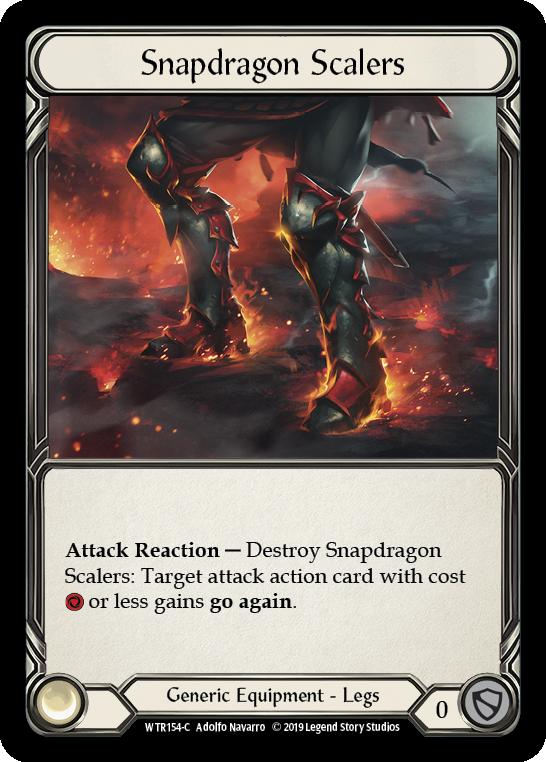
The rest of the equipment is also quite standard. Snapdragon Scalers is understandably very powerful with Ira’s strategy. Hope Merchant’s Hood increases the odds of consistent damage output. On raw rate, this is stronger than the extra card being drawn from something like the Mask of Three Tails due to the flexibility of the Hood being used defensively.
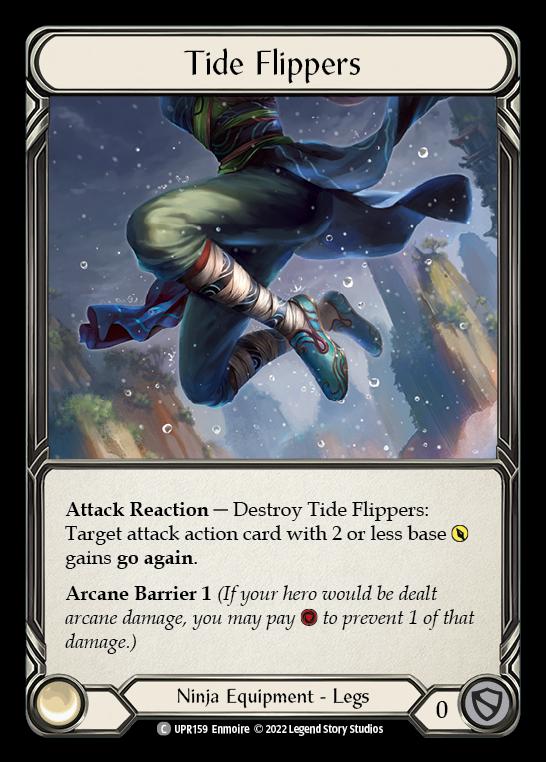
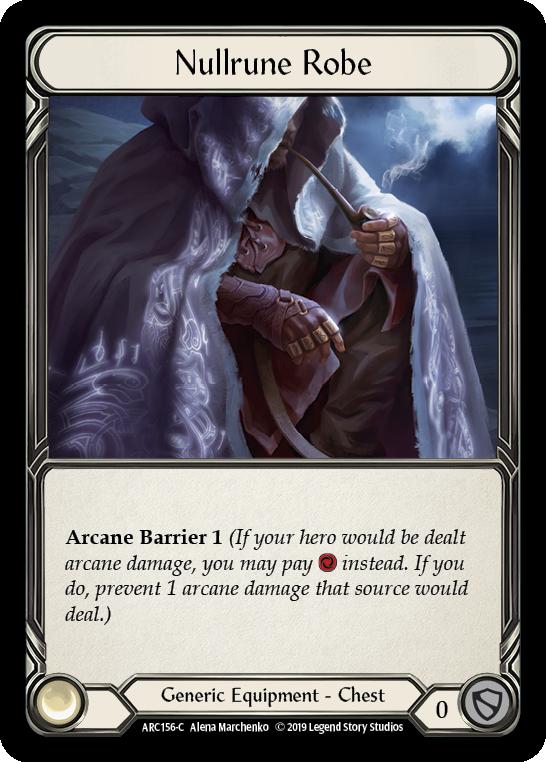
Zephyr Needle is also at an all-time high right now in a world where Dash, a deck which can’t ostensibly play the four-block defensive reactions due to the needs of the boost mechanic, is the best deck in the format. Being used as the second attack of the turn is functionally safe and free in a metagame which is largely dominated by aggressive strategies. Ira also gets to play the Arcane Barrier game quite well, with Tide Flippers having dual utility on both the reactive and proactive axes, though how prevalent a hero like Iyslander would be post-Amulet ban still remains to be seen.
Ira’s Core Game Plan
There are two main positions to adopt in the early- to mid-game when playing this Ira deck against heroes where it isn’t a matter of comparing life totals. You’re either primarily dedicated to pitching a blue and attacking with Kodachis while leaving up as many cards in hand as would be needed in matchups (such as against Wizards), or trying to line up a series of five-strength one-cost attacks into defensive decks and creating extremely awkward breakpoints.
There’ll be situations where both of these plans intersect and weave together, such as needing to get reds out of your hand. Eventually, their life total will be at a low enough number where the constant loop of Kodachi attacks is enough to force action from their hand. And being able to play this long game while also generating a consistent output of damage in aggressive matchups is indicative of Ira’s extreme versatility.
Reds
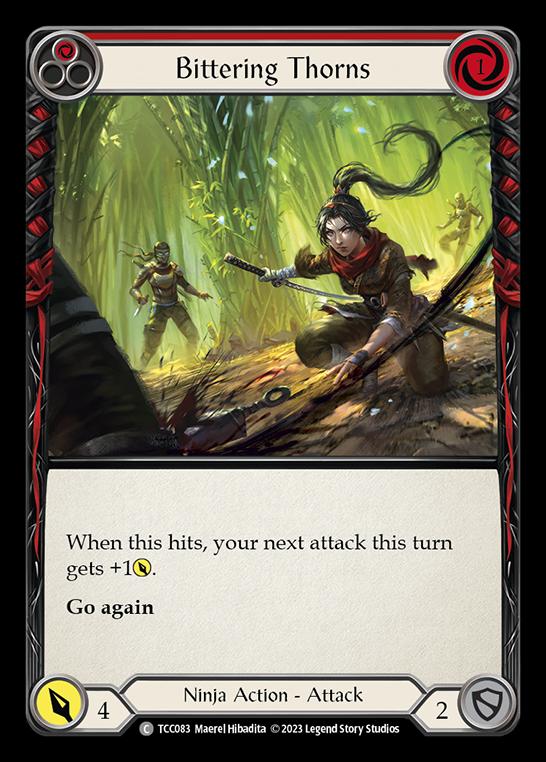
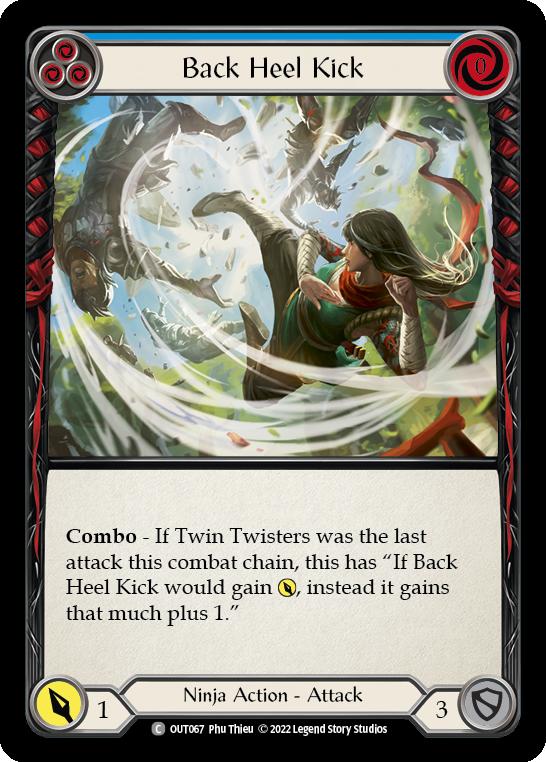
Being a deck that primarily aims to be on the beatdown conservatively, it understandably plays quite a number of reds. It maxes out two copies of every above-rate attack that can be pushed to a new level of breakpoint numbers with Ira’s ability. With Twin Twisters being firmly outclassed by the red Bittering Thorns, which functions as both modes of Twin Twisters, the reds in this deck now either hit like a truck or are four-strength go again for chain extension purposes.
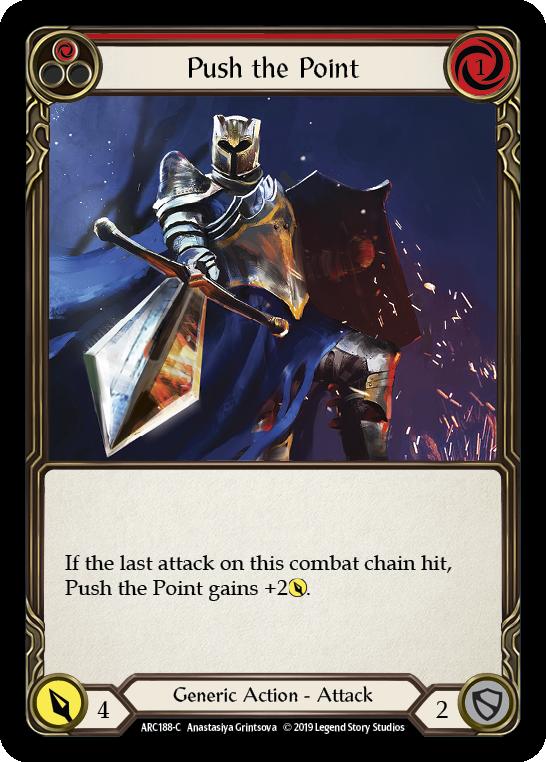
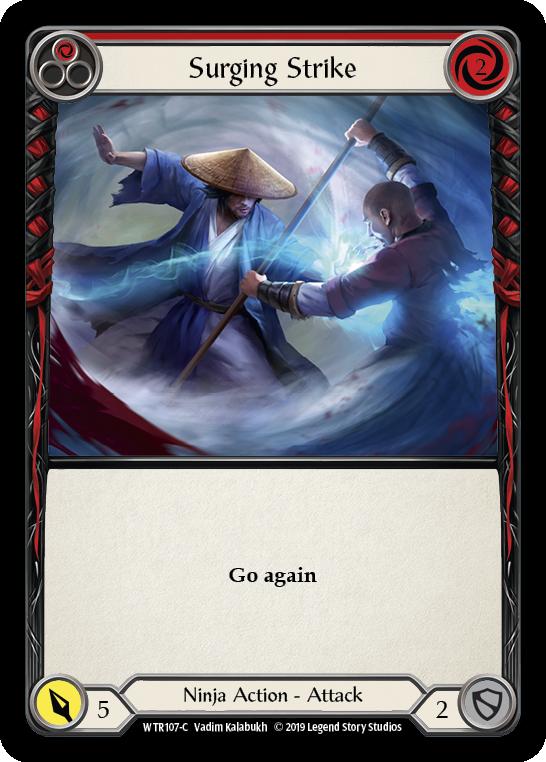
The one exception to this is my favorite inclusion of Push the Point, which shines in two-card hand scenarios as a one-for-seven or as a good follow up to a go again attack off one pitch floating. I’d also like to quickly touch upon the two-cost attacks in this lineup, as some lists may not play the Surging Strikes, which I’ve included here to maximize the value of Heartened Cross Strap. I’ve found the Strikes to be particularly useful as they can function as a starter off the Cross Strap, or as something to buff with Ira’s ability after a Kodachi.
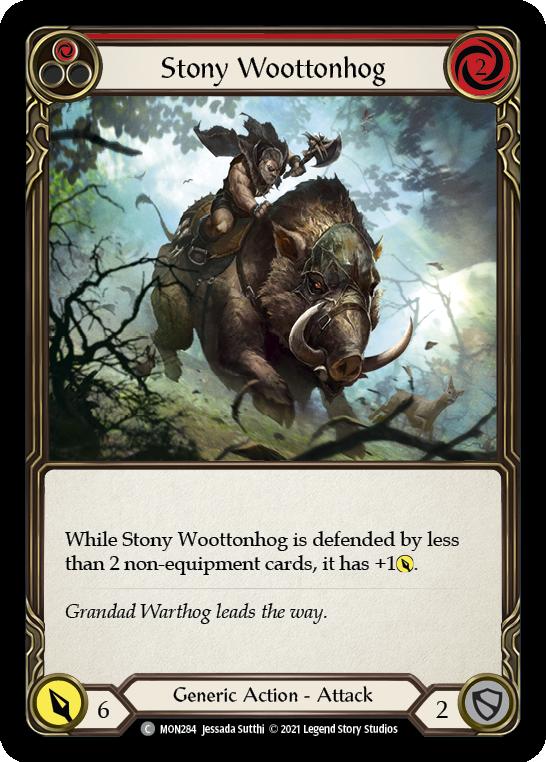
As for the Stony Woottonhogs, there are a number of different options in the two-cost six-strength range. Surging Militia immediately comes to mind as one that has a similar effect, or even going towards Brutal Assault if having three defense is what’s being valued. This slot is the most nebulous and interchangeable, as you really just want critical mass to benefit the Cross Strap.
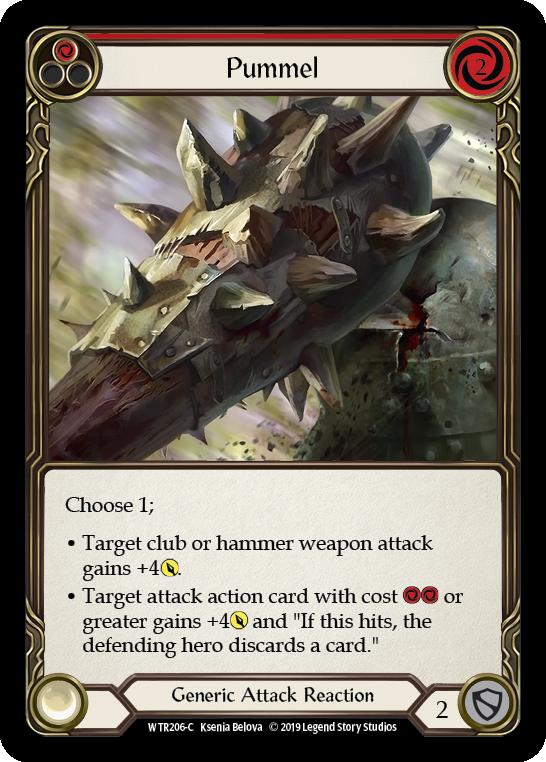
Which leads me to the inclusion of a single red Pummel. Ira is already a deck that threatens breakpoint math all across the combat chain, whether it’s the empowered Kodachi, or the bevy of four- and five-strength attacks it pumps out for a low amount of resources. Being able to land the Pummel is simply backbreaking and game-deciding for a variety of matchups, in particular Guardians and the aggressive matchups where they’re trying to leverage their hand size for the following turn. Having the ability to push through damage with the two Razor Reflexes and the one Pummel does wonders in extending chain links and turning the corner in a lot of the tighter matchups where life is the ultimate resource.
Yellows
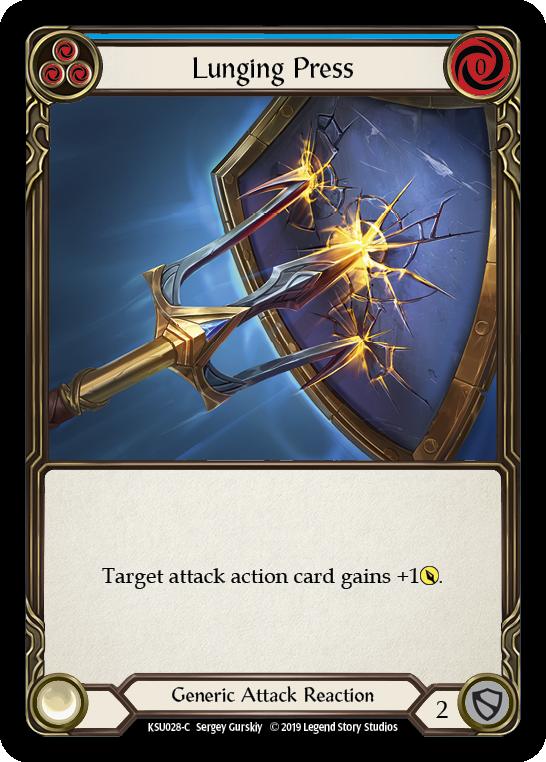
The cutest and most glaring inclusion in my list is that of the two Whirling Mist Blossoms. On rate, it’s quite a poor card due to needing the previous chain link and also itself to hit in order to do anything, so it’s understandably strange that I decided to play it. And at two copies, no less. My reasoning here is that in the world where I’m already playing a variety of attack reactions, reaching as deep as two Lunging Presses, having one of the very few ways to draw cards available in the format is extremely beneficial when you’re already trying to threaten on hits and breakpoints across an extended combat chain.
Blues
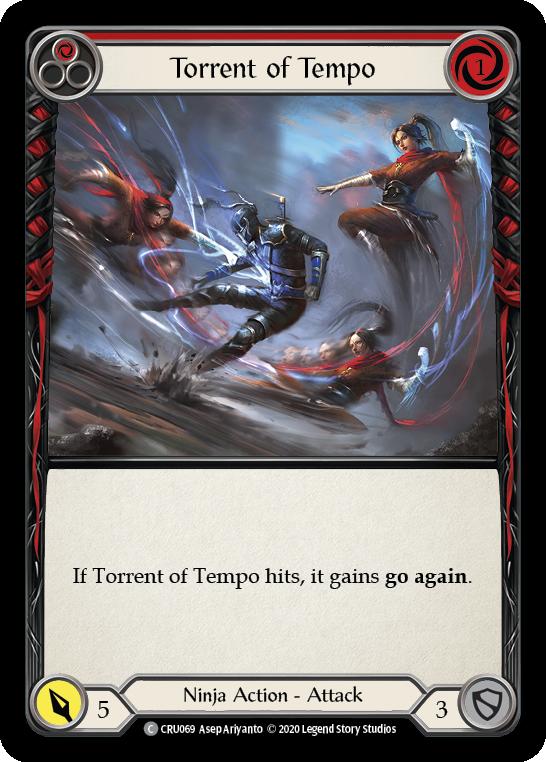
Some stranger inclusions here, but the blues generally have two criteria to fulfill: blocking for three and costing zero. This ensures that all the blues in the deck can give Harmonized Kodachi go again, as well as being useful on defense. The only concession I have to this rule is with Lunging Press, as there are enough on hit effects, whether it be go again from Torrent of Tempo, the buff from Bittering Thorns, or even being used in tandem with another reaction to force through a Pummel, that I believe in the upside outweighing the one fewer block value.
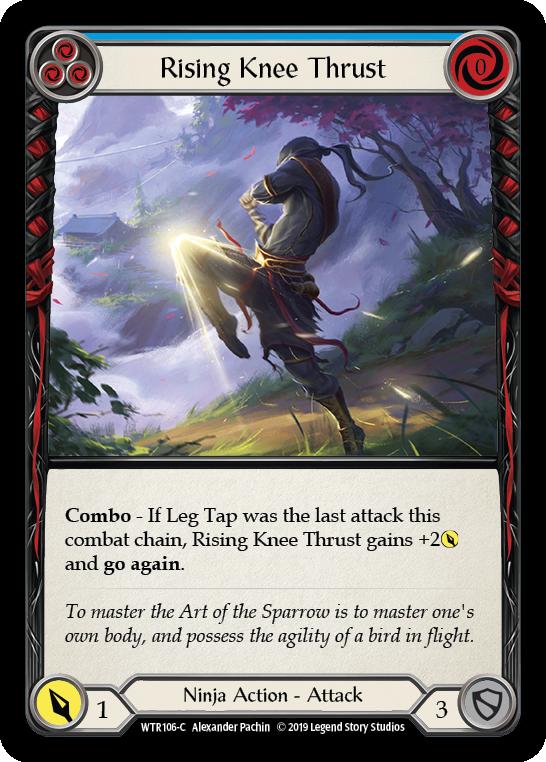
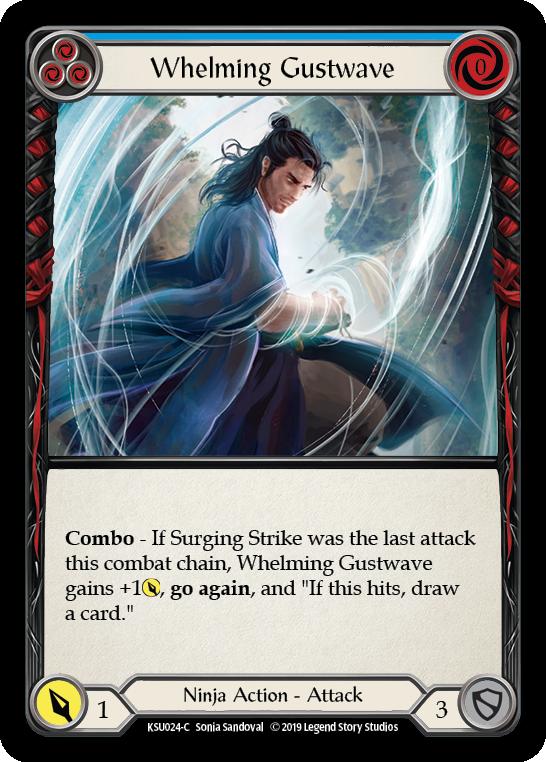
While the red versions of Whelming Gustwave and Rising Knee Thrust are bad enough on rate and rely on the combo starter to gain go again, the blue versions fulfill the two main criteria for the deck as well as having occasional upside.
Concluding Thoughts for Ira
While Ira is arguably one of the “problems” with Commoner in how generically strong and resilient the hero is, it’s undeniable that her consistency and reliability across a wide matchup spread is one of the reasons many people gravitate towards her.
I have a soft spot for Ira, as that was how I, like many others, learned to play Flesh and Blood. I’ll always have a deck sleeved up for her.
Next time I’d like to explore another way to build Ira, focusing more on the Crouching Tiger cards and synergies available with Round the Table in a post-Hammerers ban world.
Further Reading:
Commoner’s Most Complex Heroes
Daniel Yam
Daniel is a competitive psychopath who has relegated himself into playing the most casual format of Commoner. Starting Magic at the onset of Shards block, he jumped into Flesh and Blood when the Ira demo decks were being given out to Australian stores and is a proud holder of a 4-digit GEM ID. In his spare time, he enjoys trying to convince his friends to play increasingly worse cards, going to museums, and playing Guild Wars.