Oldhim in Commoner – Part 2: Matchups
December 13, 2023 by
Daniel Yam 
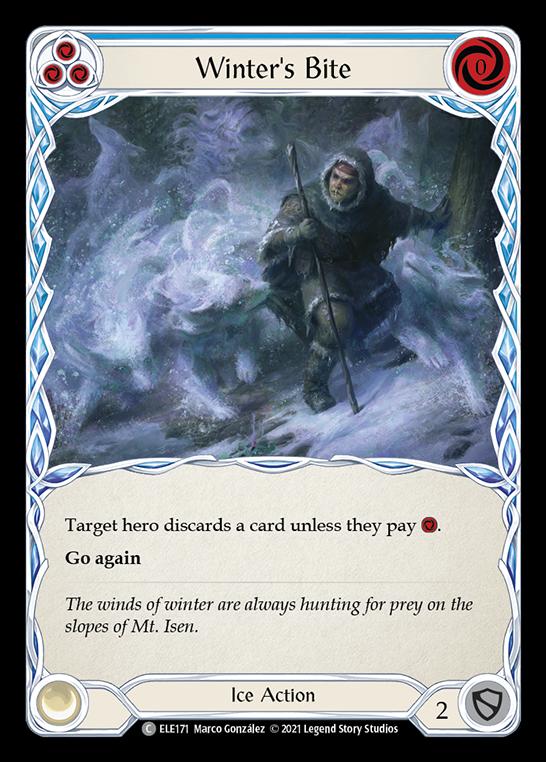
(Winter's Bite | Art by Marco Gonzalez)
Hello, and welcome to part two of the Oldhim guide for Commoner. Last time I discussed the specific card choices, gameplan, and big picture concepts when piloting the deck. Today I’ll be building upon that by taking you through most of the expected matchups you may face in a Commoner event.
Here’s the decklist I shared in the last article:
" Glacier by Daniel Yam"


Matchups
Dash
The best deck in the format, Dash has the strange quirk of actually being twice as easy to fatigue due to the boost mechanic the deck relies on, and as a result, the games actually end very quickly most of the time. I must stress that the frustrating aspect of this matchup lies in the lack of agency, as simply boosting into one of the cards that adds a steam counter onto Hyper Driver changes the game entirely, and is often the deciding factor between victory and defeat.
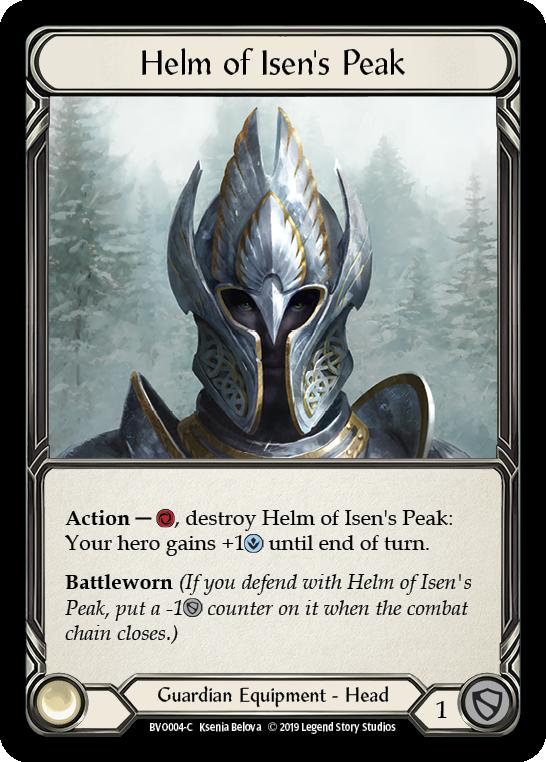
That being said, the competent Dash players will take turns off to load Plasma Barrel Shot, attack with a bad card to get it out of the hand, and arsenal a key attack, setting up for the following turn. It’s in these turns we have opportunities to strike back with something meaningful, usually cracking the Helm of Isen’s Peak to have a six-card hand against them, giving them Frostbites, or sculpting the hand perfectly by pitching to attack. Ice reacting with Oldhim is also very useful here, but take care that you don’t accidentally give them a window to stack a Crankshaft out of their hand to keep going. Only use it in situations where it can prematurely end their turn or waste pitch.
Ira, Crimson Haze
The other top dog of Commoner, Ira is an extremely rough matchup, purely due to the efficiency of Harmonized Kodachi in tandem with her ability. As she can ostensibly play the fatigue game plan as well as Oldhim, it’s key that you actually attack when given the opportunity to.
The other extremely important thing to note in this matchup is to not overcommit to blocking the Kodachis, otherwise you’ll fatigue out much faster than the Ira player. Instead, look to spend Oldhim’s Earth reaction on the first Kodachi attack, and be willing to take one damage from the second buffed Kodachi. As long as you’re only taking the one damage per turn cycle from the empowered Kodachi, the threat of decking out quickly dwindles. Using equipment as a way to gain tempo via keeping cards in hand to attack back is essential to this matchup.
Iyslander
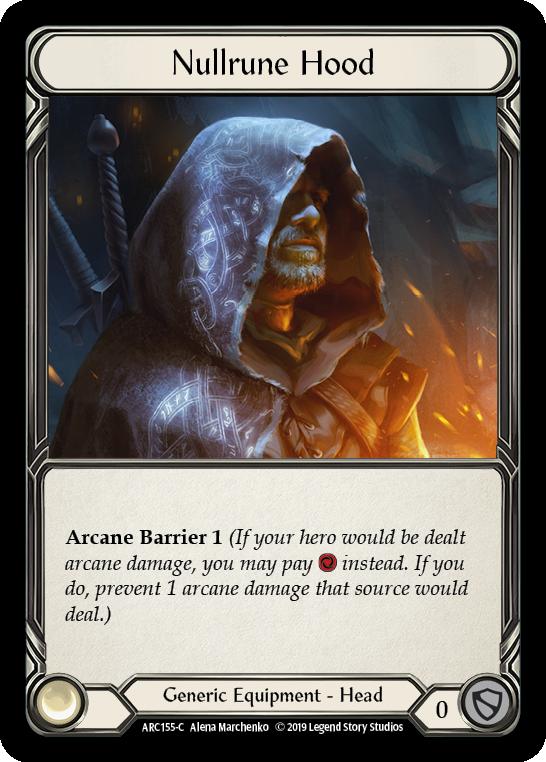
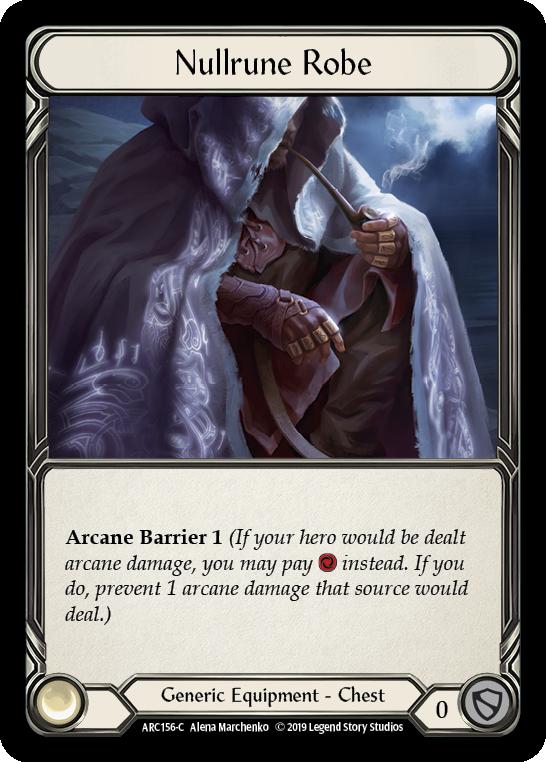
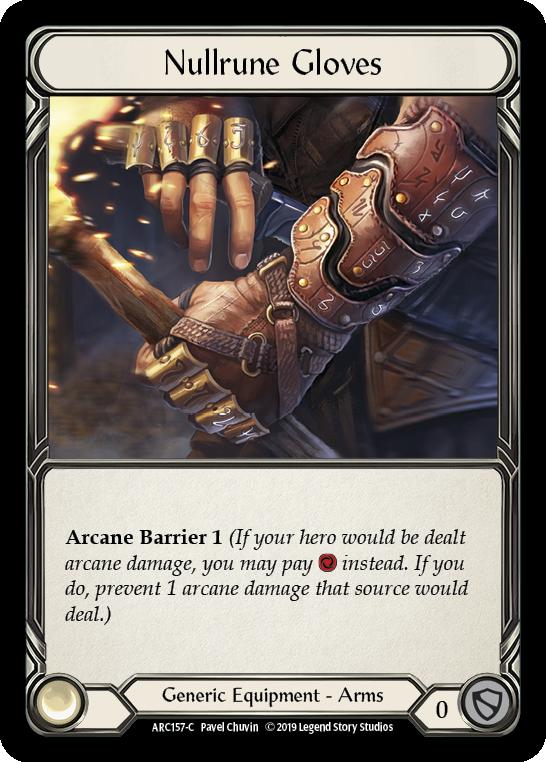
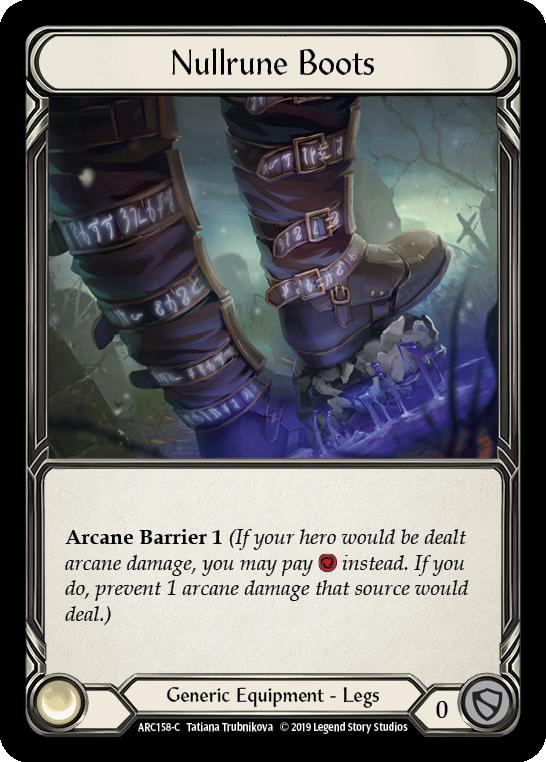
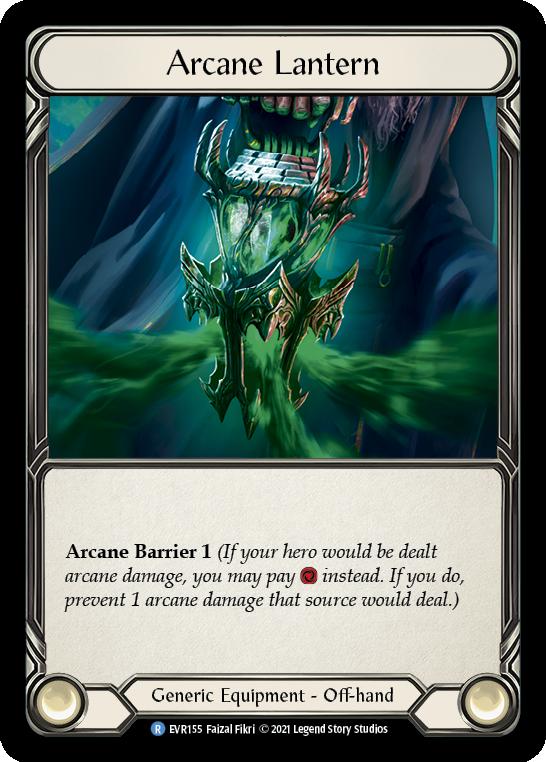
A somewhat favorable matchup, take full Nullrune and the Lantern, and block every single spell she throws at you. Take care to not overextend during your own turn if there’s a card in her arsenal and hand, and simply attempt to pass the turn back with two blues in hand to force some action from the opponent.
The key spike turns to watch out for are when she has multiple Snapbacks, or has stockpiled Amulet of Ice, as those are the key ways she can force damage through. You may also find yourself in the strange holding pattern of both players passing the turn repeatedly as any potential first action being taken could lead to a lot of wasted resources. When this starts to happen, take care to try and leverage your life as a resource to “restart” the game by forcing some amount of action if the Iyslander player is indeed waiting for you to make the first move.
Chane
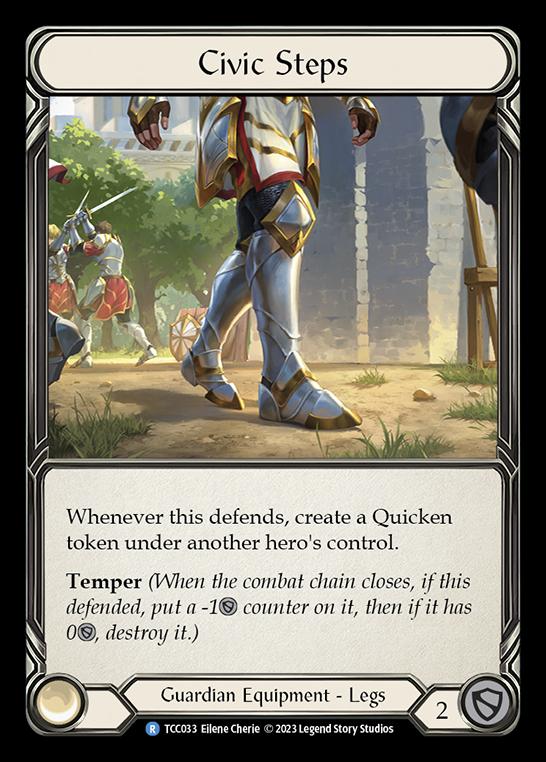
A stranger matchup – I’d advise taking only one Arcane Barrier, most likely replacing the Civic Steps in your deck and aim to use Oldhim’s Earth reaction to block out the two arcane from Rosetta Thorn by reacting on an earlier attack in the combat chain. Again, Chane is a deck that can be fatigued easily due to the churn of playing multiple cards to enable Rosetta, as well as the Soul Shackles helping your game plan.
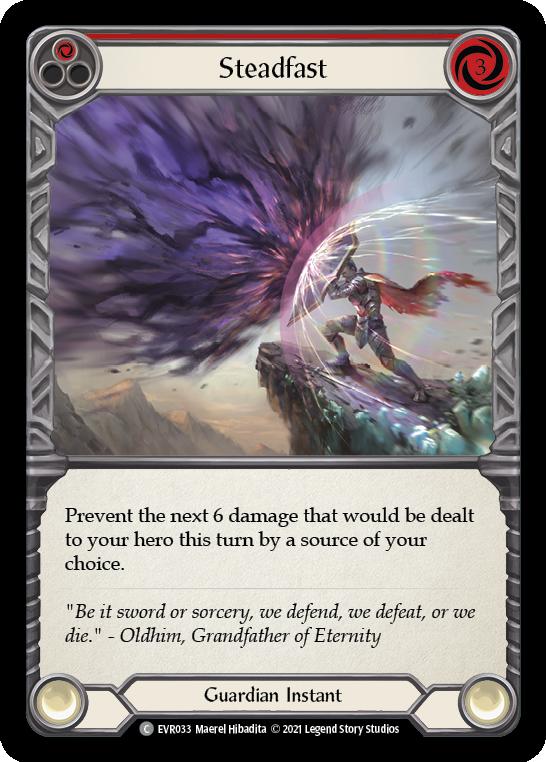
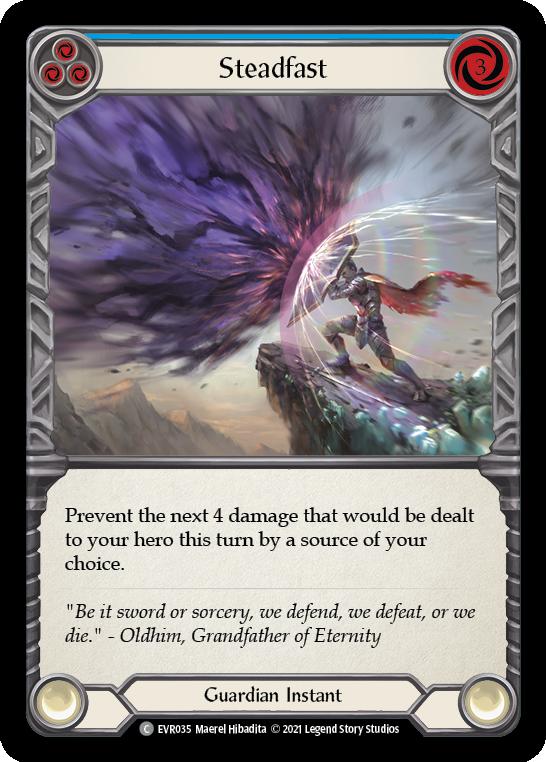
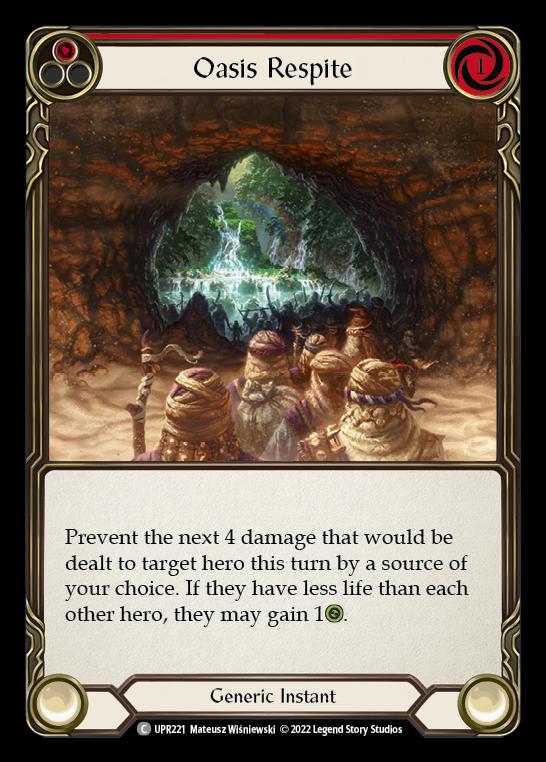
A single piece of Nullrune should tidily answer the errant arcane damage pings from Seeds of Agony and any Runechants. A fun interaction here is using Steadfast on Rosetta Thorn as a way to nullify the mixed damage in a clean trade, and of course Oasis Respite is even better at doing so. The Chane player can’t really go beyond four or five Soul Shackles, so at some point their game slows down dramatically, and being able to very easily prevent arcane damage will stop any go again from cards like Meat and Greet.
Dromai
Another potentially rough matchup, due in part to the fact that the Ashwings are very persistent sources of damage that demand a response in the form of dedicating cards to block, which is never the situation Oldhim wants to be in. While there are slight differences in how the deck can be built, either focusing on the above-rate Illusionist attacks or leaning into the Ashwings, the key aspect to focus on remains the same. Try to make them use an attack or two before popping the phantasm on either the Ashwing or attack action when it suits your hand best.
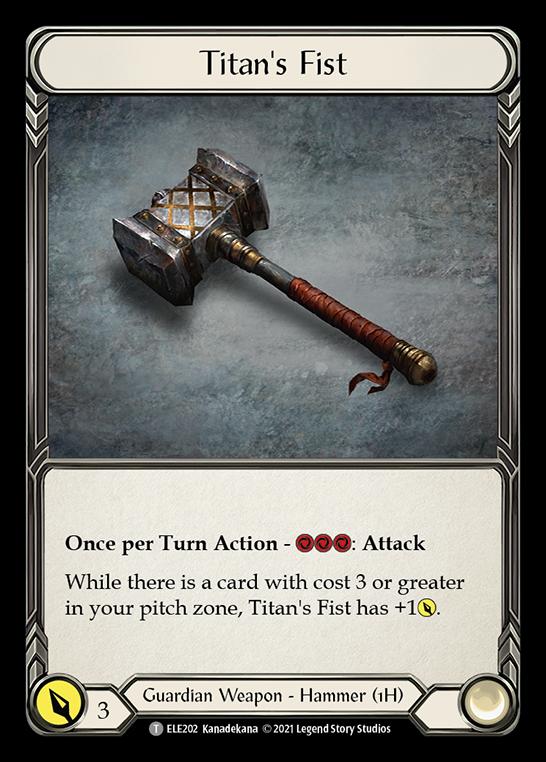
The key card to watch out for in this matchup is the red Rake the Embers, one of the few ways to transform multiple Ash and start the go again barrage. Beyond that, the flow of making an Ash and then spending an action to transform it makes for a manageable board state where you swing Titan’s Fist into their attacking Ashwing, or ending their turn by popping phantasm and ensuring the constant damage output from Dromai remains as low as possible per turn.
Azalea
A slightly more rogue hero you may come up against, Azalea is still capable of putting up high damage numbers with dominated arrows carrying a multitude of nasty on-hit effects.
Once again, Oldhim’s hero ability is the key, using the Earth reaction as a way to match their tall dominated attacks in conjunction with instant-speed responses to circumvent the dominate. I’d also be wary of firing off an Ice reaction into Azalea when they’ve presented a go again attack, as being able to stack an arrow to hit with her ability can potentially lead to some devastating on-hit effects.
Warriors
Lastly, I’d like to cover the Warriors, if only just due to their popularity within the community, even if they aren’t very competitive within Commoner. While Warriors are a weapon-focused hero class, the amount of buffs and reactions that they play mean that the fatigue game plan is still very much viable. Due to the lack of proper reactions or cards with reprise, there are enough situations where they have to commit some amount of actions to give their weapons go again before making the first swing, allowing for a play pattern of blocking and then waiting for them to react first before making a decision.
The Earth reaction is understandably once again great in these matchups, but over-relying on it as your only form of defense is ill-advised, as they will inevitably go over you in this holding pattern.
Concluding Thoughts
Safe to say, the main weakness for Oldhim lies in a repeatable source of go again damage, either in the form of weapons or allies, and in numbers that are low enough that a card spent to block them is an extremely bad tradeoff. As a hard control deck with a playstyle that focuses on fatigue and grinding the opponents out of resources, victory is oftentimes decided by a knowledge of the potential range of threats and surprises they may present, and identifying the few power outlier cards that change the common play patterns of the turn.
While this is just a whirlwind tour of the various matchups that one may face in a big event, Oldhim is a deck that rewards grinding out the last few percentage points, and there is always more to discover.
Further Reading:
The Future of Fatigue in Flesh and Blood
Improve Your Flesh and Blood Gameplay
Daniel Yam
Daniel is a competitive psychopath who has relegated himself into playing the most casual format of Commoner. Starting Magic at the onset of Shards block, he jumped into Flesh and Blood when the Ira demo decks were being given out to Australian stores and is a proud holder of a 4-digit GEM ID. In his spare time, he enjoys trying to convince his friends to play increasingly worse cards, going to museums, and playing Guild Wars.