Bonk ‘Em with Kayo: a Blitz Deck Tech
July 8, 2024 by
Jo O'Brien 

Kayo has been one of the most consistent aggro decks in the game since his release in Heavy Hitters. Leveraging the ability to discard cards with little to no risk of missing removes the variance from the Brute. This deck is a tuned version of the list I’ve talked about in a Budget to Built article. If you want to build something like this and save a few bucks, I’d recommend checking it out here. This is a great deck to take to Skirmish or completive locals. It has game into a lot of the field via its damage output, equip suite, and solutions to fatigue.
Kayo Decklist
" Bonk Rush Kayo"
|
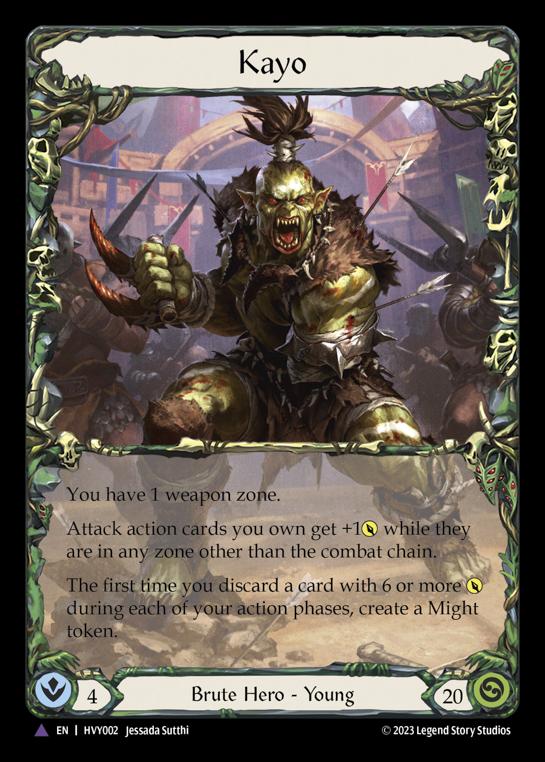


Kayo’s Strategy
This deck has two modes which are a few cards different but are mostly playstyle changes. The most common way to play this list is Rushdown aggro. You just play as much damage as you can and run the opponent to zero as quickly as possible. This is usually into other aggro decks and relies heavily on Kayo’s kind of gross equipment.
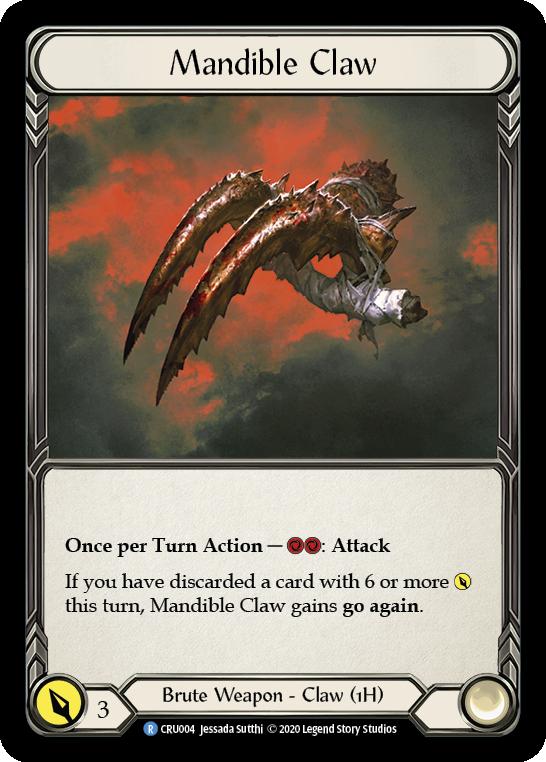
The other way the deck plays is midrange grind. This will typically happen when you find yourself playing into the blocky decks. In these matchups, you really need to get max value out of your deck without dumping too many cards. This is where Mandible Claw really shines. Three is a number that needs to be respected in Blitz. When the midrange strat is applied correctly, you can actually end up fatiguing other decks as you get them multi-blocking your attacks and giving cards to Claw. Seriously, try to swing your weapon a bunch here.
Key Cards for Kayo
This pile has a few cards that are key to it’s plan.
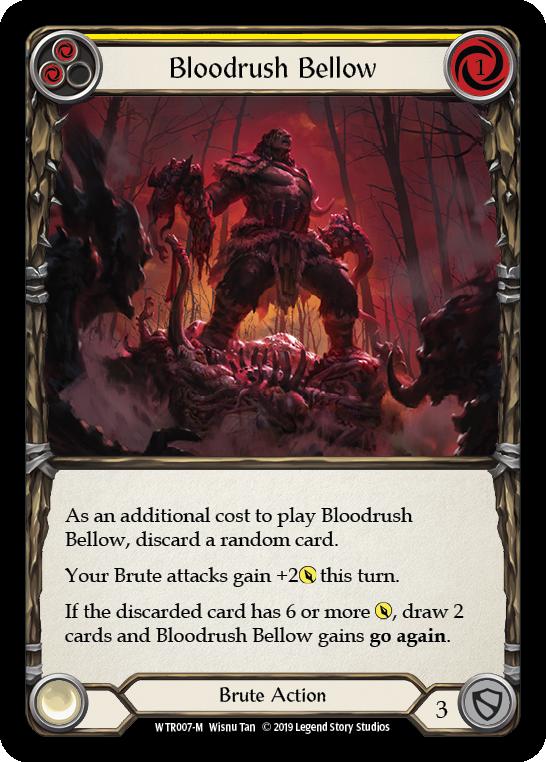
Bloodrush
The first and most important of these is Bloodrush Bellow. You’re trying to combine Bloodrush with a go again attack and Claw to make a pivot turn. After that you play to your consistently hard to block turns and use that or the other copy of Bloodrush to close the game.
The Eights
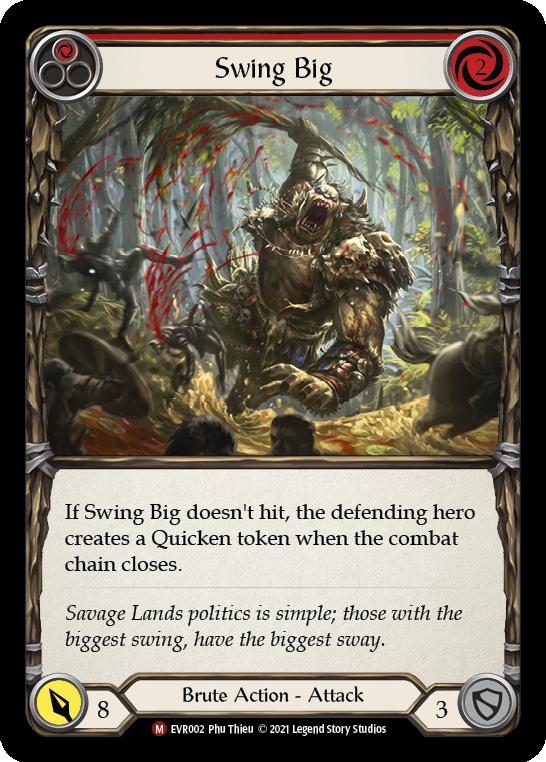
The next noteable cards are the two-card eights, in the form of Swing Big and Bare Fangs. These help grab and keep tempo because they are overrate. This is especially true of Bare Fangs as it’s most likely going to make a Might token off Kayo‘s ability, making it have one extra value.
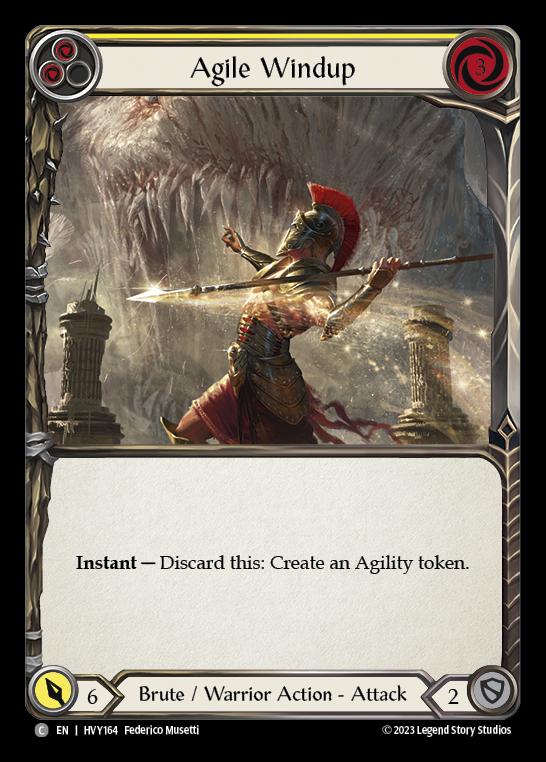
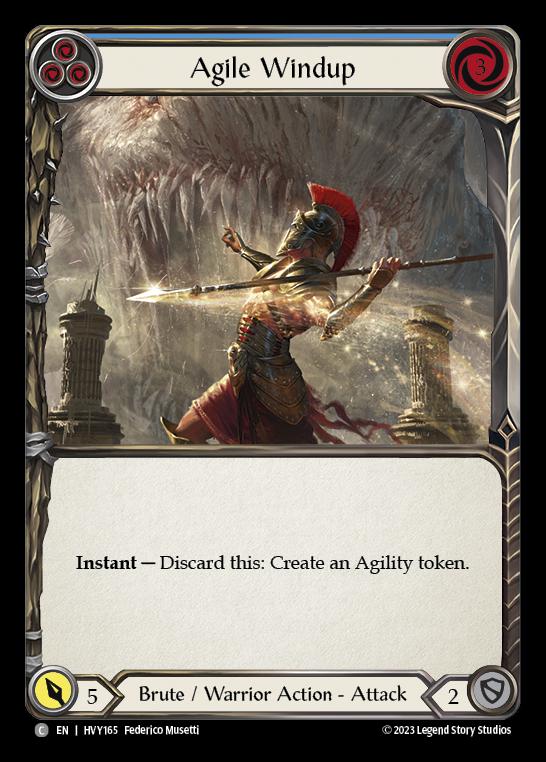
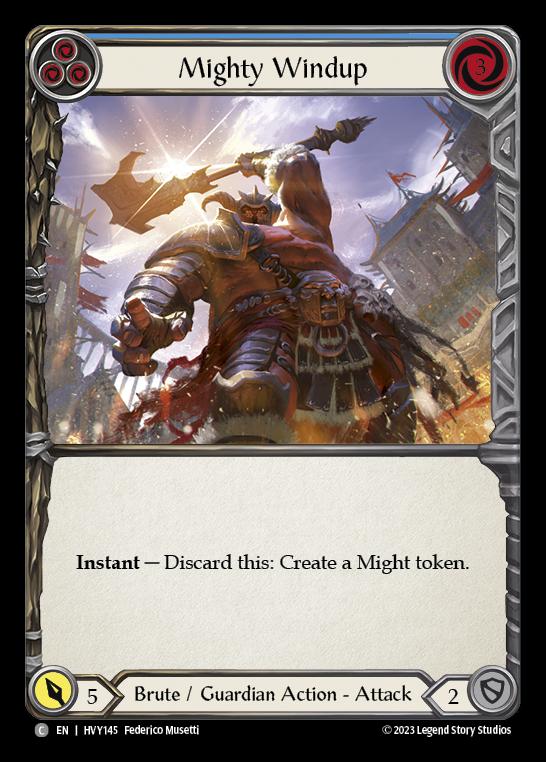
The Windups
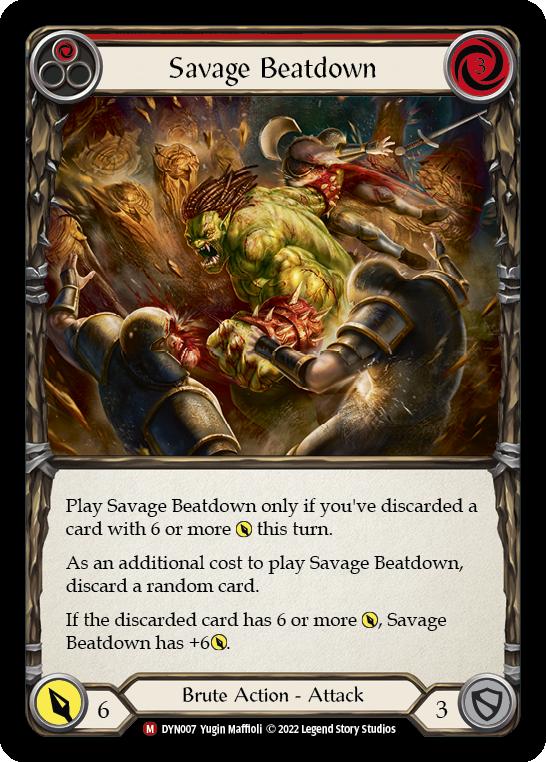
It’s also worth touching on the power of the six windups in the deck (Agile Windup yellow and blue and Mighty Windup blue). These are synergy machines that set up for the next turn. All of the Windups are capable of discarding at instant speed and count as sixes for Kayo’s abilty. Claw loves Windups too. If you swing Claw without go again, you can discard a Windup after (before link step) to give Claw go again. One of the last things that they can do is turn on Savage Beatdown Easily.
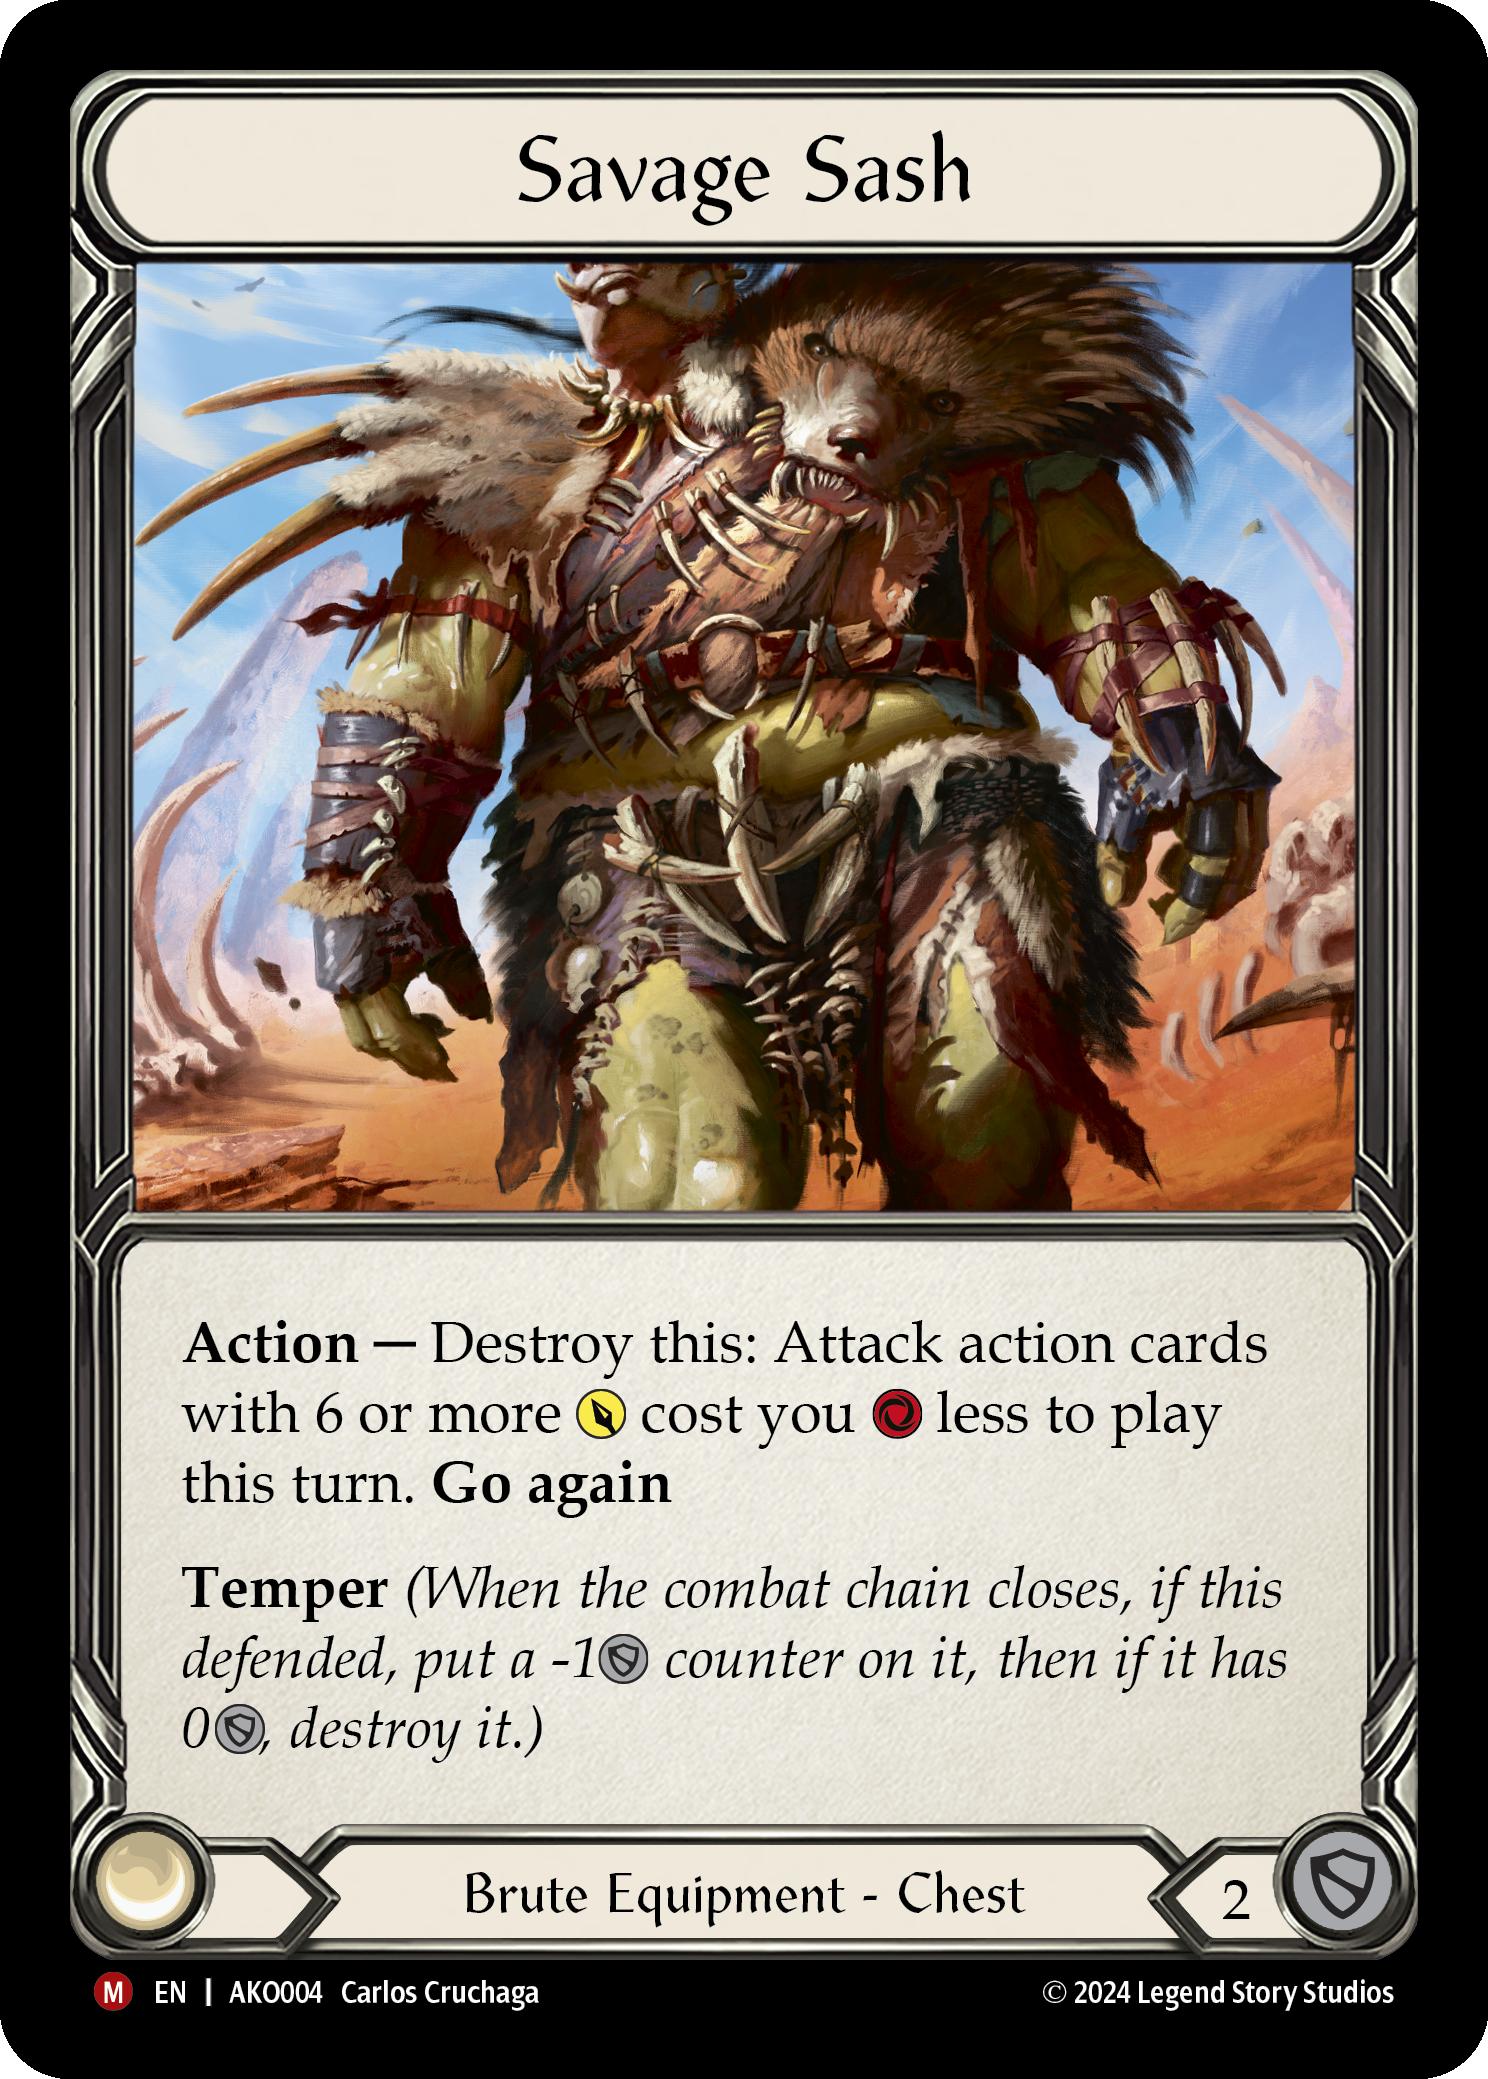
Sash
Savage Sash is usually a three-block, but sometimes it wins the game. Popping Sash to go three or four chain links wide off of one or two pitched cards makes for an extra power turn and can keep the deck from losing tempo.
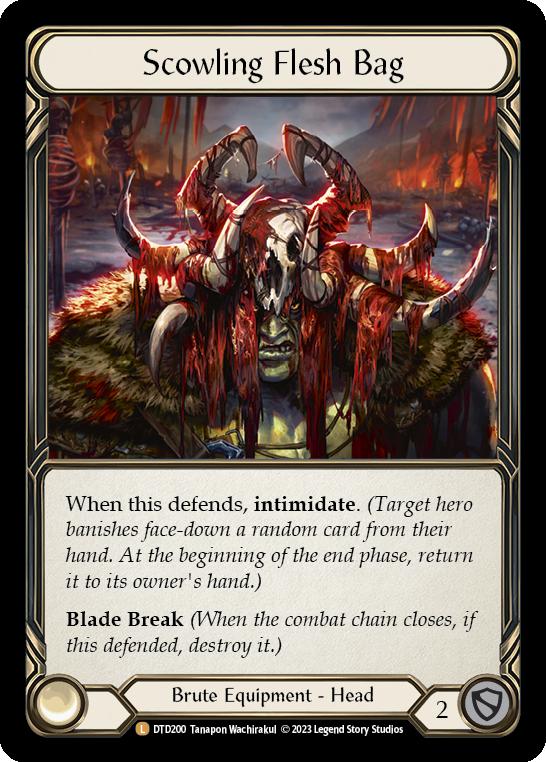
Scowling Flesh Bag
Scowling Flesh Bagis arguably one of the strongest hats LSS has ever printed. This thing just steals tempo if you understand your opponent’s deck a little. Using it when Dash is headed into an obvious Maximum Velocity can just win the game. The same can be said of decks that are notorious for playing Pummel. If they have two resources and only one card in hand, block with Scowling and present a big turn to make playing that Pummel later a tall ask. Scowling is the number one way to pivot in this pile.
Inventory
The inventory of this deck is there to help with some of the odd matchups.
Anti-Fatigue
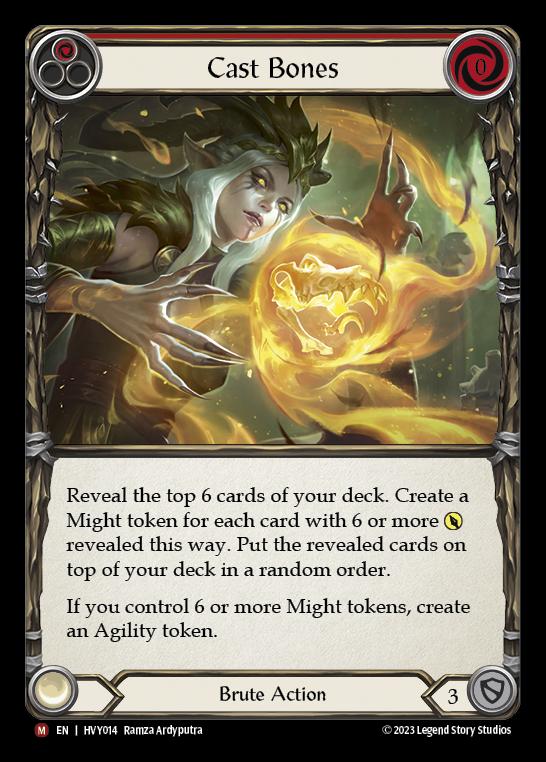
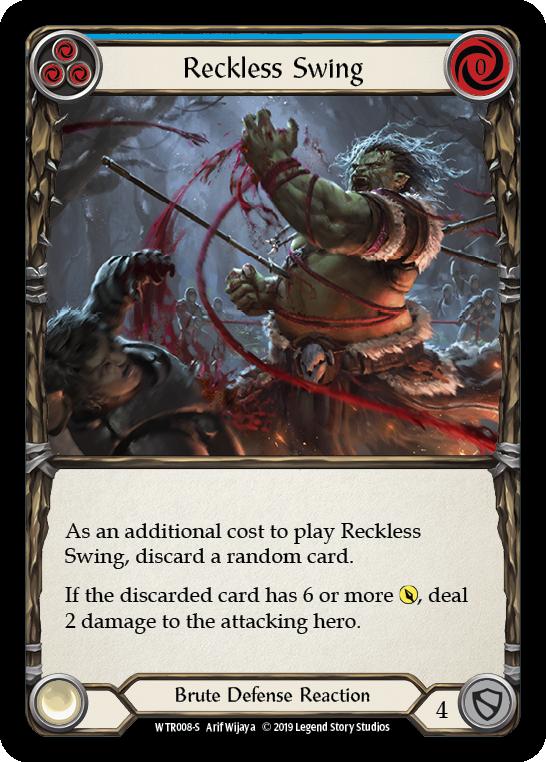
The mainboard of this deck can fall victim to fatigue easily. It puts out consistent damage but sometimes the opponent can block that just as efficiently. In these cases, you’ll bring in the fatigue package in the form of Cast Bones, Reckless Swing, and Beaten Trackers. These create two more (mostly) guaranteed big turns and a way to close out the game if the opponent tries to turtle at two or fewer life. It should also be noted that Reckless Swing is good into decks that you know can race you but will let you push their life total low.
Weakest Link
The Weakest Link comes in for heroes that have a lot of non-blocks, which is mainly Zen at this point. It can be devastating if they block with Traverse the Universe on your go again attack and then you follow it up with Weakest Link. The card is also decent into the other Mystic heroes and great into the mirror. It also gets brought in when we don’t want as many non-block cards in the deck. This is mainly Dash.
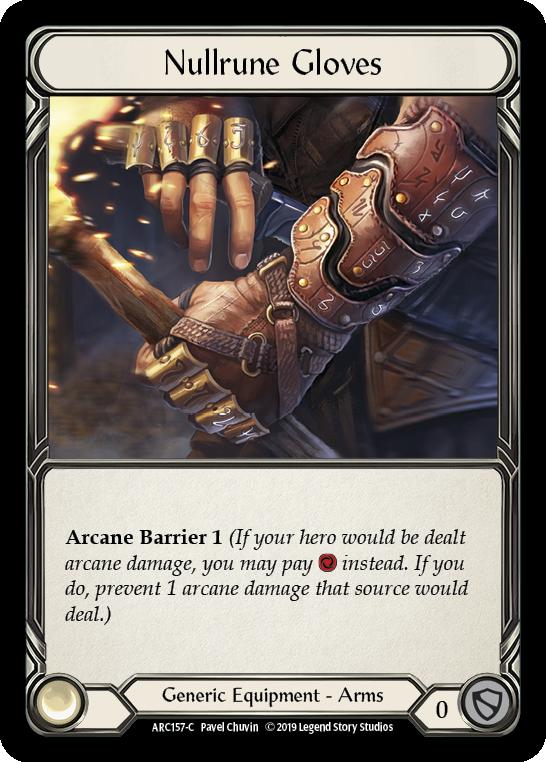
Arcane Barrier
Dying to arcane is annoying. There’s the option of Arcane Barrier 3 in the inventory to make the Wizard matchup a little betterb but it’s a bit rough. Runeblade can also be a little rough if they present Rosetta Thorn.
Wrapping it Up for Kayo
Kayo is a really solid deck capable of pressuring the opponent immensely to ask for their cards while setting up for future turns. He can also block better than a lot of the other aggro decks. When you’re playing Blitz Kayo it’s very much about using your resources exactly right to lock down the game and get the opponent blocking while you look for a way to close the game. If you like to run full force ahead, this is likely the deck for you.
Further Reading:
How to Upgrade the Kayo Precon
The Blitz Format is Great, and You Should Be Playing It!
Taking the Tempo in Flesh and Blood
Jo O'Brien
Jo is an avid Flesh and Blood player, judge and, writer. She is one of the blitz specialists here at FABREC. Jo has played a lot of classes and heroes but, she has an affinity for two heroes in particular, Enigma and Valda. When not playing FaB, Jo is typically filling her free time playing guitar, playing Apex Legends, or building their next Rube Goldberg machine of a deck.