Evergreen – Kayo, Armed and Dangerous
April 5, 2024 by
Rhys 
With Pro Tour: Los Angeles behind us, we finally have a solid look at what the Flesh and Blood metagame looks like with Heavy Hitters influencing the format. Before this set released, the Brute class was enough of an underdog that even having it in your considerations for a well-performing class would have likely earned some raised eyebrows. However, the future is now, with a commanding four appearances in the Pro Tour top eight, Kayo, Armed and Dangerous has made his presence known, and demands considerable respect.
This is Rhys, back with another edition of Evergreen, a series focused on helping you unlock the hidden potential of the heroes of Rathe in Flesh and Blood‘s Classic Constructed format. Brute has commonly been referred to as the “smoothing” class, where raw efficiency is the key focus. This means mitigating the random factors of Brute’s effects involving discard, rolling dice, and drawing cards. Much of this process is handled in the deckbuilding process, where Kayo, Armed and Dangerous‘s static hero ability mitigates most whiffs, but what isn’t is on you to resolve in-game.
Efficient Means Flexible with Kayo
An added layer of complexity is that a Kayo deck is often very well stocked with three block cards, meaning pivoting to a defensive value strategy is also possible. Two-time Nationals champion and all around Flesh and Blood genius Yuki Lee Bender has given multiple clinics in feature match games on playing Kayo defensively to fatigue an opponent. Since fatiguing an opponent in a deck such as this is a higher level of complexity, that won’t be addressed in this article in depth, but being aware of the possibility can help you start to recognize those opportunities.
To get a look at what Kayo builds are currently looking like, here’s Daniel Correas’ Pro Tour top four deck.
"Pro Tour: Los Angeles 3rd by Daniel Correas"


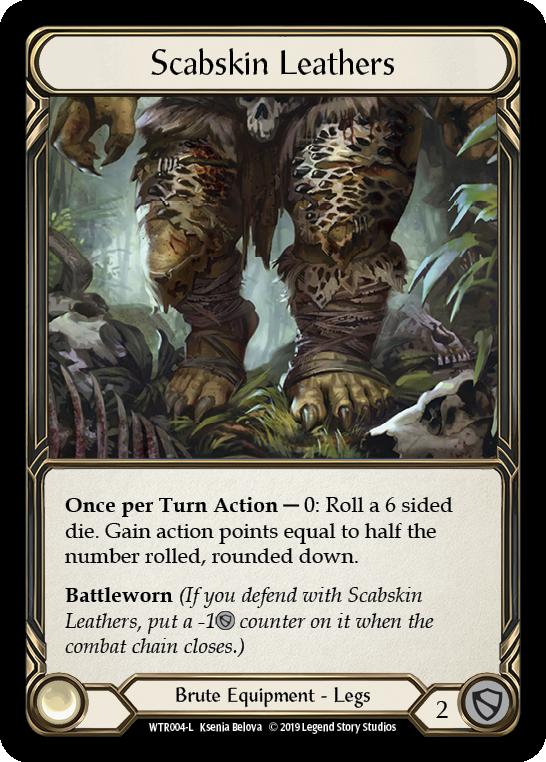

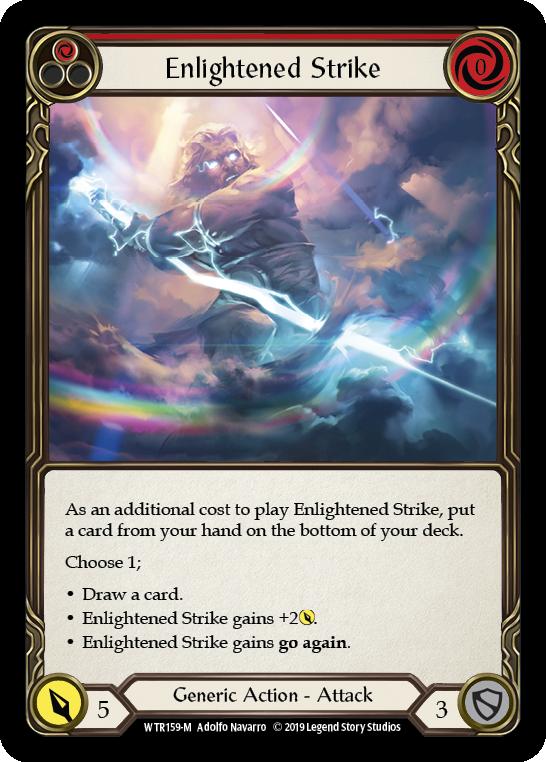
You’ll immediately notice the high efficiency attacks in a Kayo deck that Brute couldn’t previously utilize, such as Enlightened Strike, since it has six power everywhere but on the combat chain, adding to a newly printed density of accessible forms of go again. This will be expanded on later, but this change has solidified the concept of “do not roll Scabskin Leathers.” Brute now has enough access to multiple attacks per turn that it’s no longer necessary to leave your turn to the fates.
Go Again, and Again, and Again…
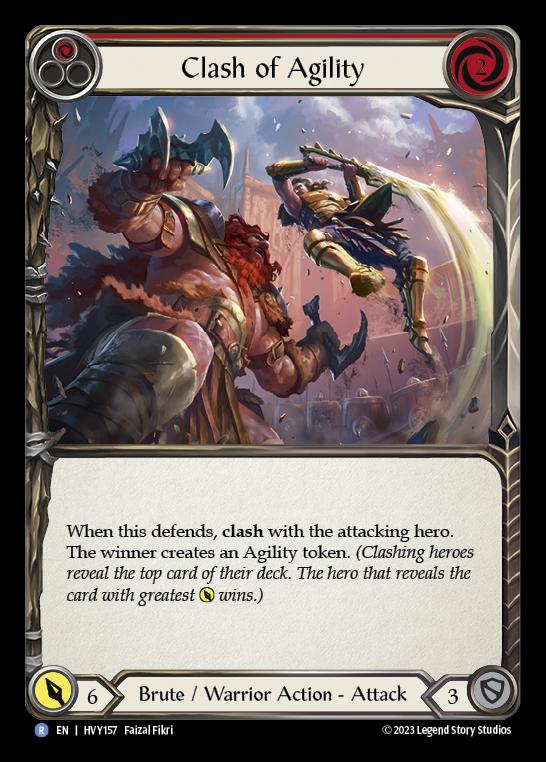
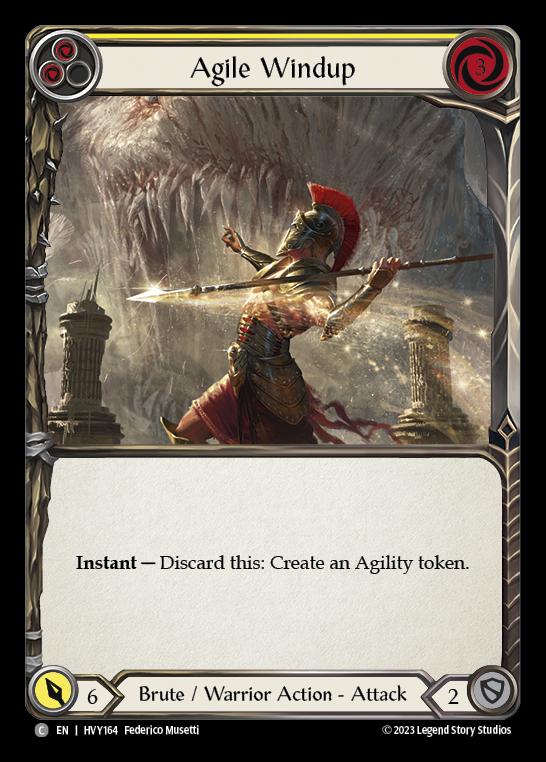
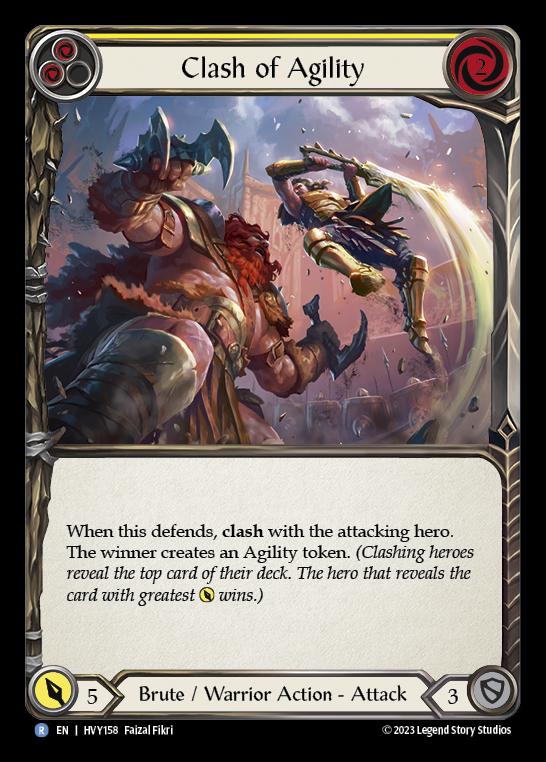
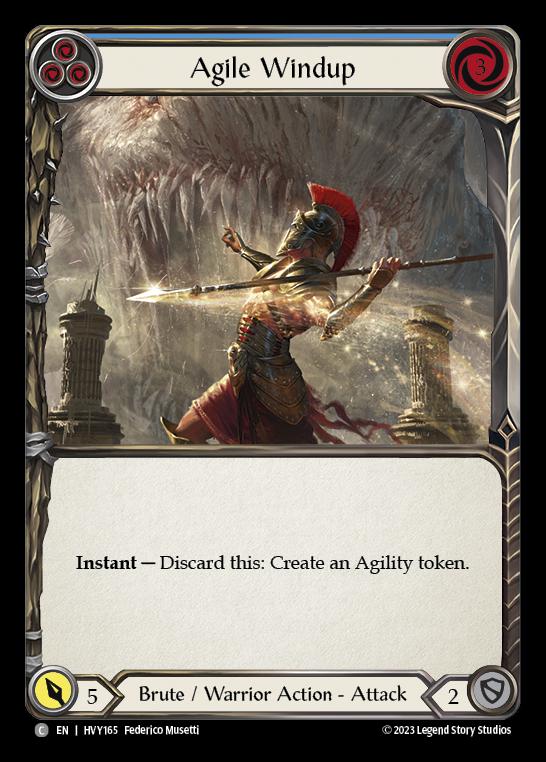
If you’ve ever played a Guardian with Tectonic Plating, you’ll know how important continuing to roll a Seismic Surge token is turn over turn. If you’re not, just trust me; it’s important. The same is true for Agility tokens in Kayo, Armed and Dangerous. Kayo’s static ability turns every attack action card in this build into a six power attack (or more) while not on the combat chain, meaning clashing is favorable for Kayo. Clash of Agility red and yellow three-block defenses with a favorable attack value that also sets up go again on the next turn is a staple. Discarding Agile Windup blue (and yellow, for matchups when you’re racing more and blocking less) to its ability when your opponent passes priority on their turn can take an opponent by surprise, and since it creates a Might token with Kayo’s second ability, it pushes your attacks into difficult-to-fully-defend territory.
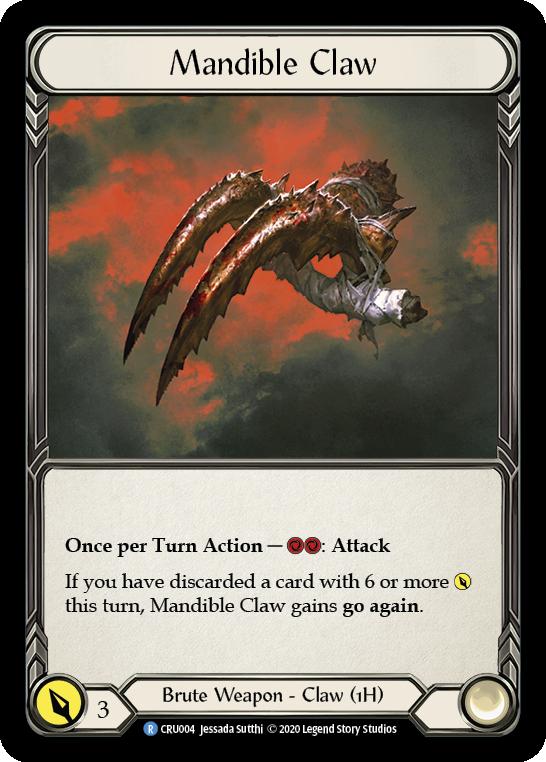
Part of why Brute is so efficient is that it makes it difficult to attack and defend against them effectively, either leaving damage on the table or over blocking, but often both. Keeping this in mind can help you plan what you arsenal; if you’ve seen more of your seven- and eight-power attacks than usual, saving one for your next turn can put your opponent in difficult places, where attacking for six and swinging Mandible Claw for three is simpler to defend.
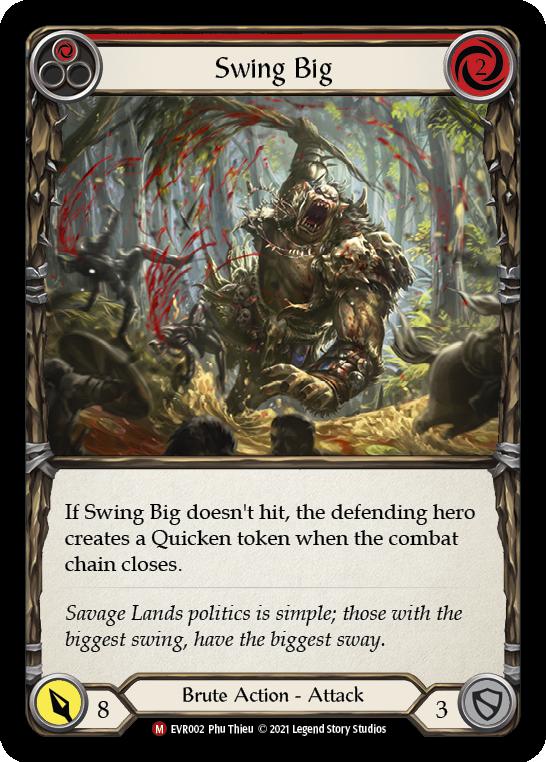
The hidden layer of Brute’s difficulty lies in making your opponent make a mistake by either respecting or disrespecting the wrong attacks. Swing Big is one of my favorite examples of this. It’s rarely worth chasing after the Quicken token it would create, but can make a desperate opponent misplay into doing so, often with inefficient blocking.
Kayo Ken Times Twenty
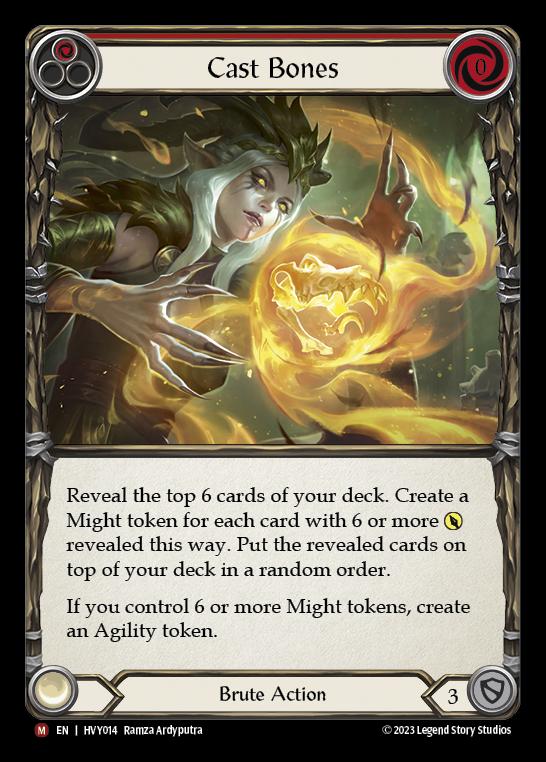
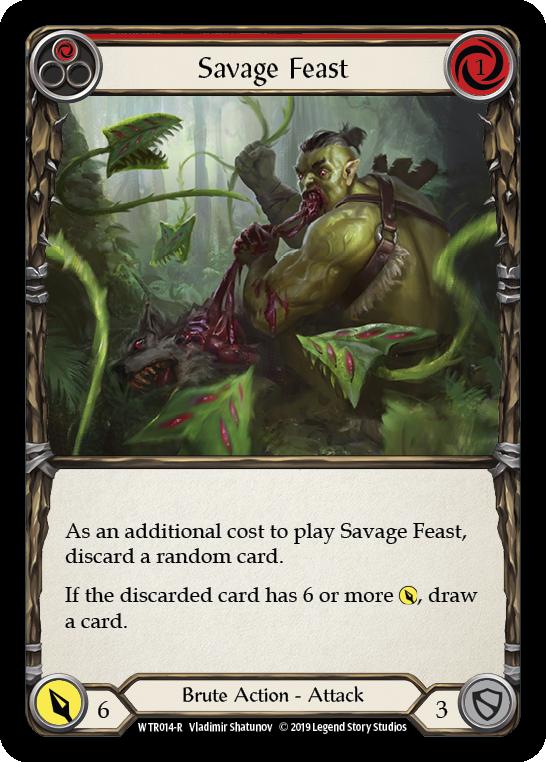
Some cards in this deck require a bit more deliberate planning to use effectively. Cast Bones is a card you’ll often see used after blocking with an otherwise full hand to set up a vicious attack on the next turn cycle. With Kayo, Armed and Dangerous making every attack in the deck meet the condition for six or more power, Cast Bones is often full power, giving you damage output that would rival Bravo, Star of the Show at his peak.
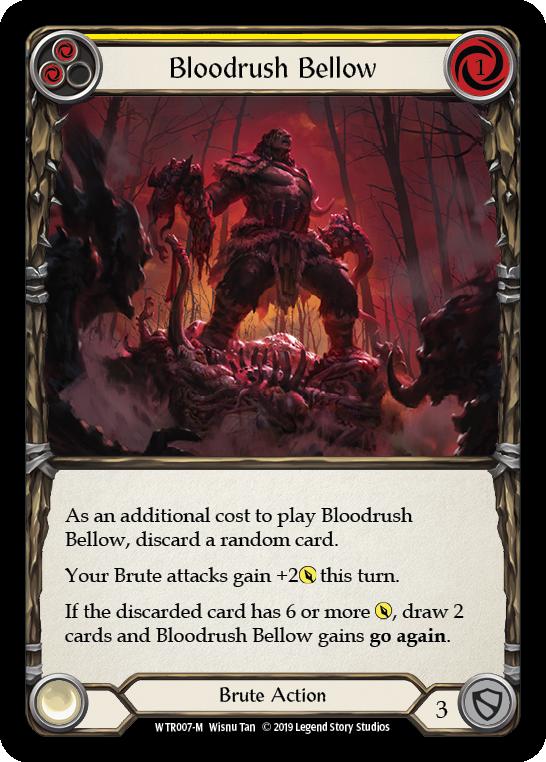
Bloodrush Bellow is the perfect example of a card that is not oppressively strong unless you’re deliberate to set it up. It can be worth waiting for a turn or two to play a back-and-forth game with an opponent until you get a hand that is well suited to exploit it. This would most often look like a hand full of six-power attacks, a good source of resources, and a Fyendal’s Spring Tunic resource to kick it all off. It can also feel tempting when pushing turns like this to try and cheat extra action points with Scabskin Leathers. Continue to ignore this desire, as it’s Gambler’s Fallacy to go for it.
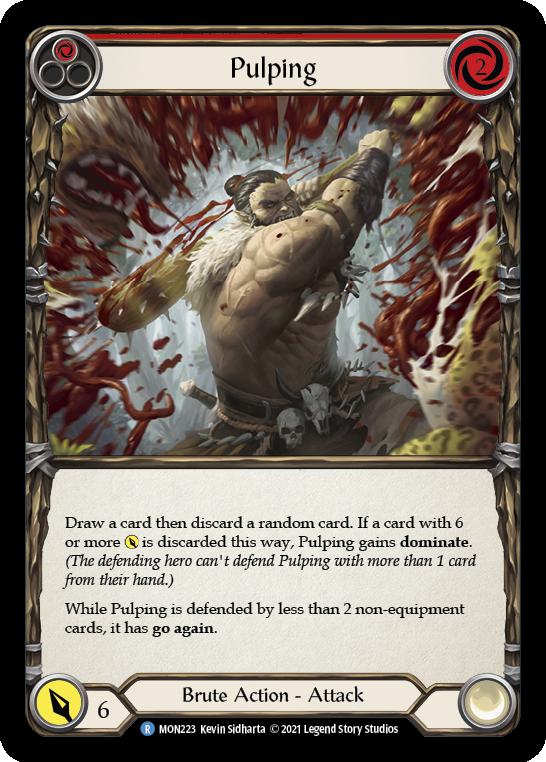
Part of mastering this deck will be learning to take calculated risks to “set up” for a future turn, and keeping an eye on your pitch and graveyard to know how likely it is. Cashing in your third Bloodrush Bellow to try and steal a game you’re behind on, but it draws two Cast Bones or a Pulping with no card to discard.
Fine, I’ll Talk About Scabskin Leathers
Since the topic of whether or not to use this equipment’s ability is contentious, it’s appropriate to break out when to use it with more specificity. Breaking it down:
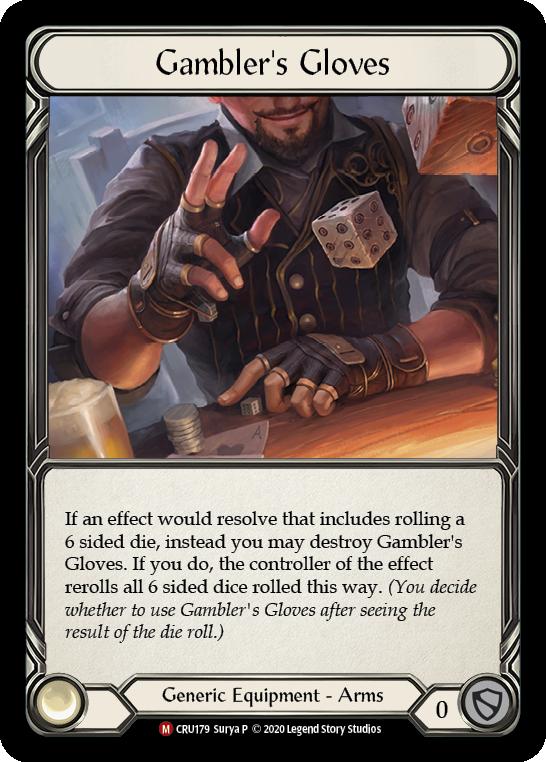
- 16.6% of your rolls will be a one, meaning you lose your turn, unless you have Gambler’s Gloves to try again.
- 33.3% of your rolls will break even on action points, meaning it gained nothing, but also lost nothing
- 33.3% of your rolls will net you one action point, giving you an additional action over any go again instances you already accumulated
- 16.6% of your rolls will net you two action points atop any go again you have
This looks like a clean bell curve at first, and it seems like 50% odds to get something positive. This is where many players can get lost in results-oriented thinking, justifying a wrong choice because it benefitted them in a particular moment of their personal experience. It’s easy to think “more action points good,” but many hands can’t even use all of the action points a good roll can generate, further diminishing the odds of a good outcome.
It goes without saying that doing something that can end your turn while you’re ahead is simply foolish, right? Unfortunately, also not universally true. There are a thousand scenarios where you should roll, even if the same cards in another game would indicate you shouldn’t. This is intimidating to consider, but this is also your indication to be kind with yourself if you make the wrong choice. It’s going to take a long time to get correct, and you’ll probably still do it “wrong” well into the point where you are consistently winning your games with Kayo, Armed and Dangerous. In order to make the early steps easier, consider the following:
- How many points of damage is an action point worth in this hand? If it’s equal to or greater than four per card, it’s worth considering, such as a hand of two blue pitch cards and two Swing Big. If you get a second action point, you can swing for eight twice, meaning your four-card hand was worth 16 damage. If you have a single blue card and a Fyendal’s Spring Tunic resource, this can be pushed to over five damage per card, and would be a worthy gamble in the right scenarios.
- How likely are you to lose the game on the spot if the roll doesn’t go well? If you must have a second action point to have your turn function, it could be that you blocked incorrectly, or sent an inefficient attack on a previous turn. Use these moments to reflect on the last few turns to consider other outcomes in the future. Never thought you’d have to do a Doctor Strange impersonation when playing the unga bunga hit opponent with stick class, did you?
- How badly do you need an additional action point to get into the game? If a Prism, Awakener of Sol is playing a string of Arc Light Sentinel into you and is building a board of horrible unpleasantness while doing it, it’s very worthwhile to consider chasing additional action points to break out of that, even if it wouldn’t put you ahead on life totals. If you’re unable to make a worthwhile determination, avoid “screw it let’s go for it,” at least when you’re starting out.
Some situations make it where it’s either going to be required to roll, and others where you must accumulate action points without any die rolling factored in. Gambler’s Gloves is most often used against Illusionists building an impenetrable wall of auras, such as the aforementioned Arc Light Sentinel situation with Prism, Awakener of Sol. Even though it means you have three less block in your arm slot, it gives you insurance against being locked out of the game, and is powerful enough in that context to justify. Against Kano, Dracai of Aether, you simply can’t afford to roll a one, two, or three, and using all of your cards makes you too vulnerable, meaning a six-roll is also no value. Since Kano is mostly non-physical, Beaten Trackers will predictably give you what you need to pressure the squishy Wizard.
The Rest
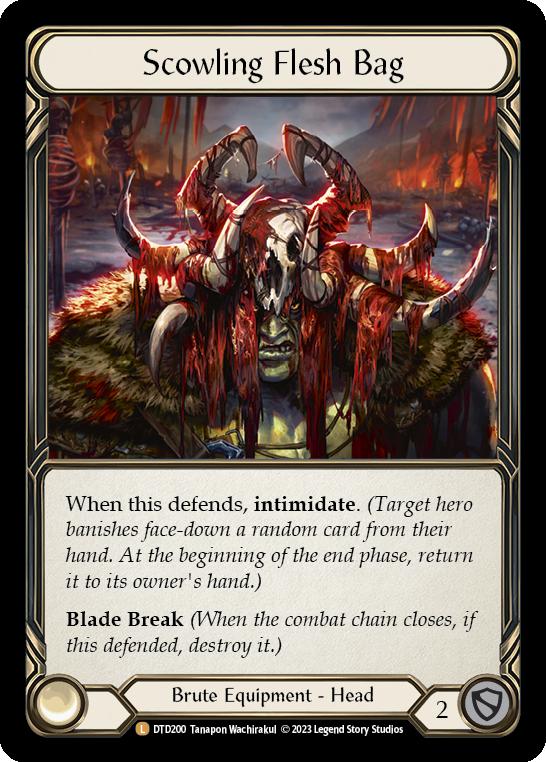
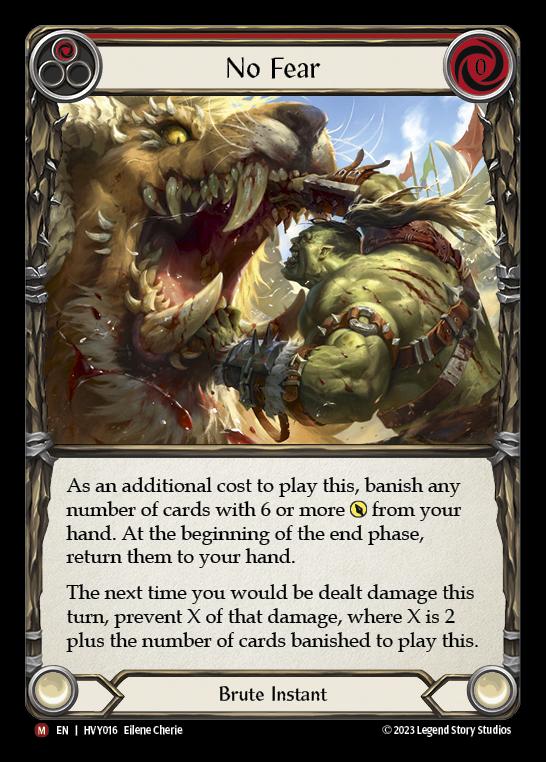
Most cards in Kayo, Armed and Dangerous are pretty straightforward, as they focus on efficient sources of damage and setting up being able to present multiple attacks per turn. This isn’t a bad thing though! It’s a good place to learn, since everything you’re evaluating turn over turn is largely printed right on the card, and you don’t have to consider things like “how many points of damage is Shake Down‘s on hit worth?” The last couple of cards that don’t follow this are No Fear, which is quite simply a high-risk defense reaction style instant that has great text versus heroes that only attack once per turn for a large amount, such as other Brutes, Rangers, and Guardians. The second is Scowling Flesh Bag, which can block anywhere from two to upwards of ten points of value when used correctly. Using Scowling Flesh Bag to defend should often be considered as a way to take the rest of someone’s turn, such as a Guardian attacking and floating two resources with a card or two left in hand, or an Azalea, Ace in the Hole sending a pumped Bolt'n' Shot with an activation of Death Dealer still waiting to be used. It’s advisable to avoid using the head equipment to defend in any other scenario unless it would imminently jeopardize your ability to be a contender in a given game. The more experience you get with this card, the better it will become for you.
Thank you as always for reading through this edition of Evergreen. Until next time!
Further Reading:
The Future of Fatigue in Flesh and Blood
Mind Games And Variability In Heavy Hitters
The Best Flesh and Blood Content
Rhys
Rhys (she/they) is a long-time Magic: the Gathering fan, having started in Seventh Edition. She played Legacy until around 2018, and now mostly plays EDH. She Transitioned to competitive play with Flesh and Blood at the release of Tales of Aria, where she was quickly enamored with the skill expression, seeking constant self-improvement. When not obsessing over cards, Rhys can be found consuming speedrunning content, or fawning over literature like The Witcher, or Sherlock Holmes.