The Spider’s Playbook: Uzuri
May 22, 2023 by
Jose Lau 
Outsiders promised a return to authentic Flesh and Blood, intense back-and-forth battles for tempo, intimate melee combat, and close, gritty games. All of these design philosophies are embodied in the newest Assassin hero, Uzuri, Switchblade.
Despite the lack of Top 8 success at Pro Tour: Baltimore, numerous players have experimented with the hero and developed numerous shells, all of which hold potential. The shell I’ll be delving into was popularized by Arakni aficionado TaoTao Chu. I’ve been tinkering with his deck and ideas ever since, bringing me success at various local events.
This article aims to discuss and explain the tools Uzuri brings to the battlefield, bringing to light the dirty tricks this Assassin wields, and adding them to your arsenal.
The Playbook
The concept and skill expression of the deck can be summarized by one word, forking. A fork is a concept in chess whereby you assault two pieces at the same time, forcing your opponent into a loss regardless of their response. Either by pinning your opponent to either losing via bringing their life total to zero or by decking them out, this deck presents multiple difficult decisions for your opponent, eventually cornering your prey to a loss.
As previously mentioned, Uzuri provides pressure to both your opponent’s deck as well as their life totals, by wielding Daggers that are incredibly inefficient to block. On contact, these Daggers leave an opponent vulnerable to attacks. On the other hand, if an opponent chooses to block out the Daggers and follow-up assaults, they leave themselves prone to fatigue. If an opponent chooses not to block the Daggers, they’ll struggle to defend against Assassin’s incredibly efficient and disruptive attacks, and thus suffer in life total.
Say an opponent chooses not to defend. The answer for the Assassin class is to block. Most of Assassin’s tools block for three, and are able to weather an opponent’s assaults, but most importantly they have very powerful one- and two-card hands to retaliate and disrupt an opponent’s assaults. No-win scenarios.
The pivoting between the different ways you deal with your opponent is key to success with Uzuri. Drawing from Mike Flores’s influential article, Who’s the Beatdown, is very relevant even in Flesh and Blood. Success in Uzuri is to always be in control of the game and dictate how your opponent plays, not the other way around, even if it appears that you’re on the backfoot.
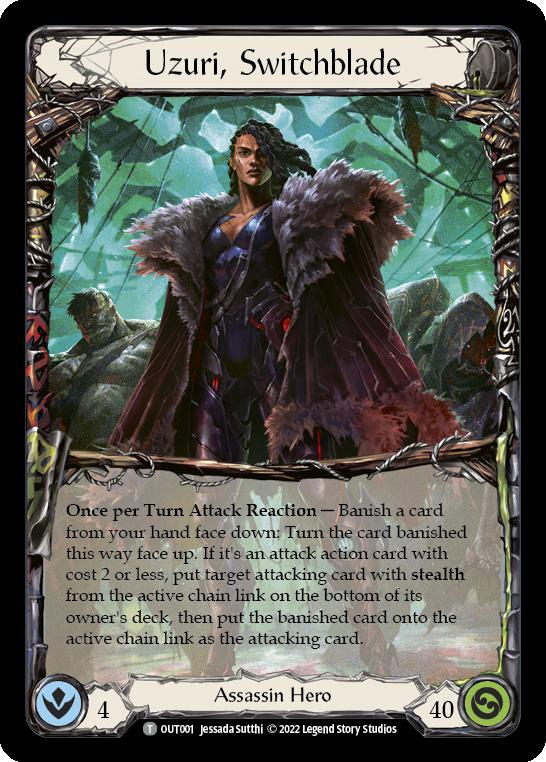
The Switchblade
Uzuri’s hero ability enables her to swap in an attack in place of a stealth card, sending the stealth card to the bottom of the deck. While there are obvious uses for this ability, there are many different applications.
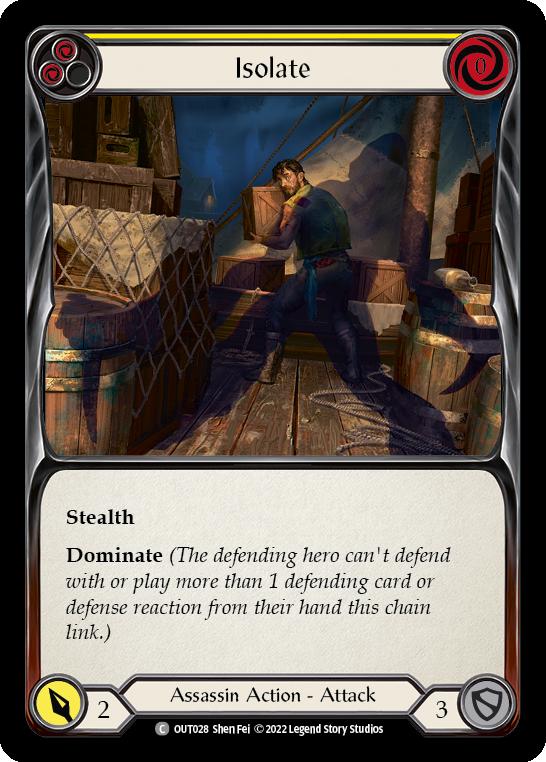
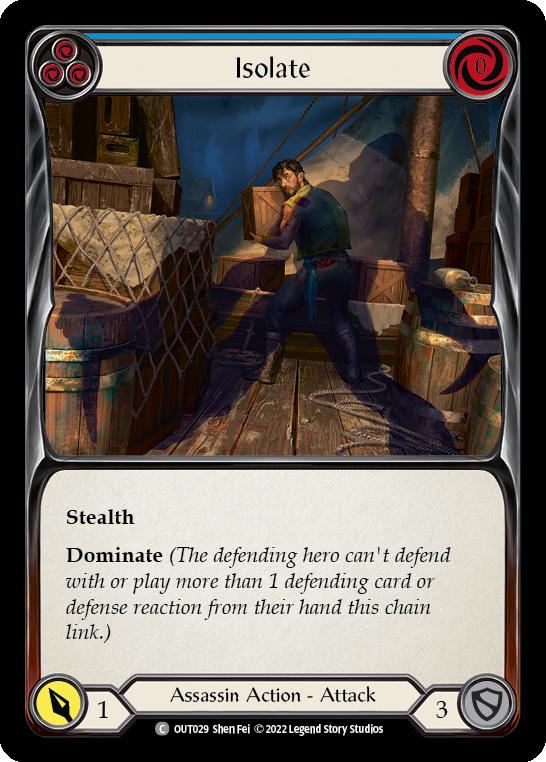
Isolate is the most powerful stealth card for use with Uzuri’s ability, demanding an opponent have a defense reaction or else a guaranteed hit for Uzuri’s switchbladed attacks. Isolate, however, is most powerful in the second cycle, after an opponent has exhausted their defensive tools, where you can be most confident in an Isolate attack connecting. It helps that the stealth card is sent to the bottom of the deck, enabling powerful plays in the second cycle of the pitch stack.
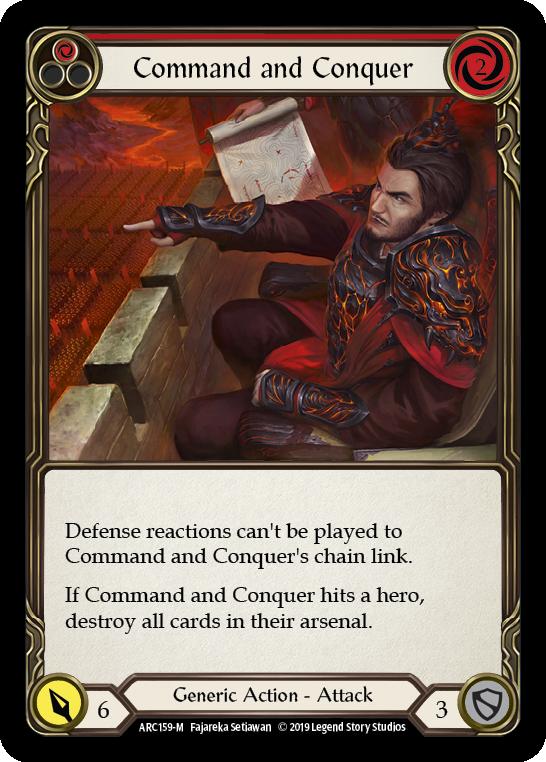
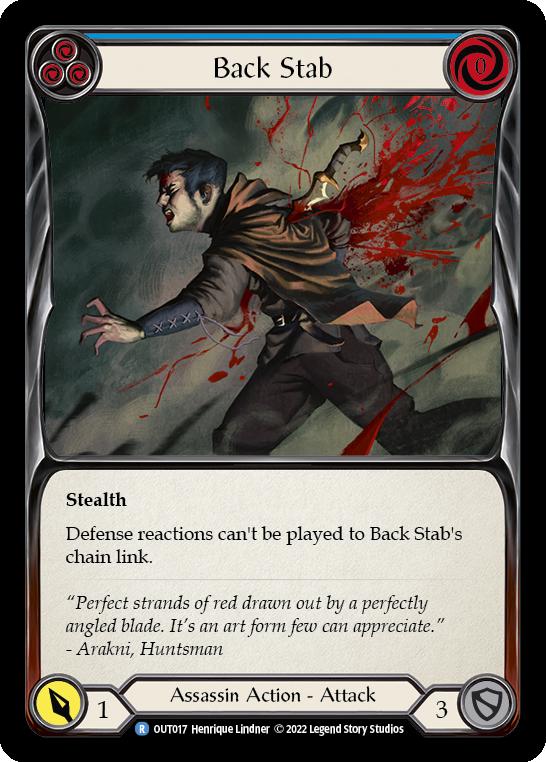
Back Stab, however, is also extremely powerful. While an opponent is free to block with multiple cards, that’s the idea. The potential of a Back Stab into Command and Conquer is extremely threatening to decks that are attempting to block out Uzuri, and reading an opponent’s arsenal is important in gauging how likely they are to block. The power of Back Stab isn’t in its ability, but its threat.
To a fearful opponent, every card you hold is Command and Conquer, and abusing their fear of such a blowout is key in utilizing Uzuri. It can be compared to threatening Pummel as a Guardian, except without the pitch commitment required. Bluffing is key in Uzuri and is often how you get an edge, even after drawing poorly.
The Scam
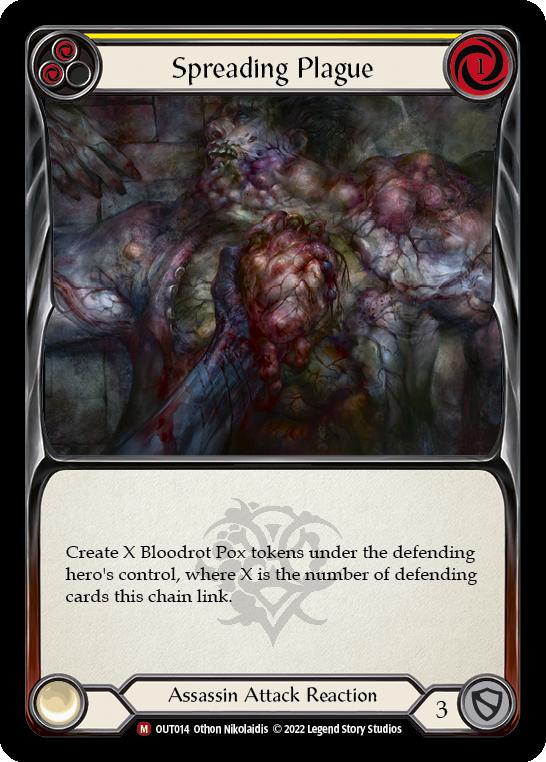
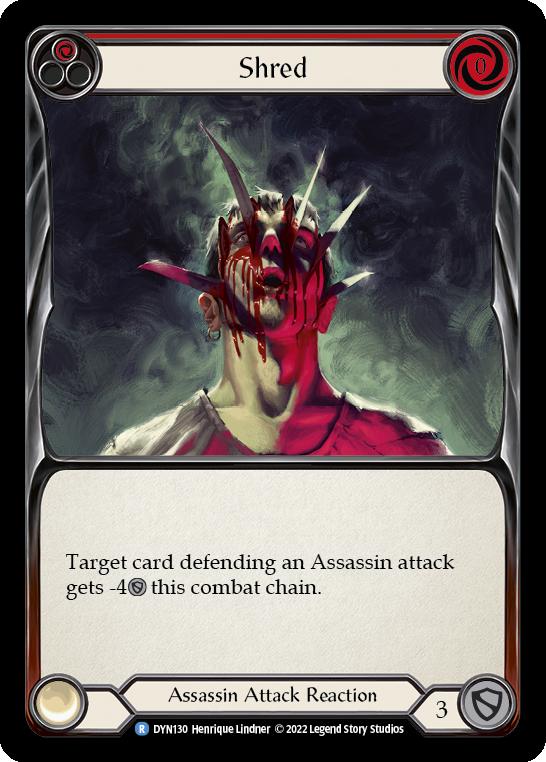
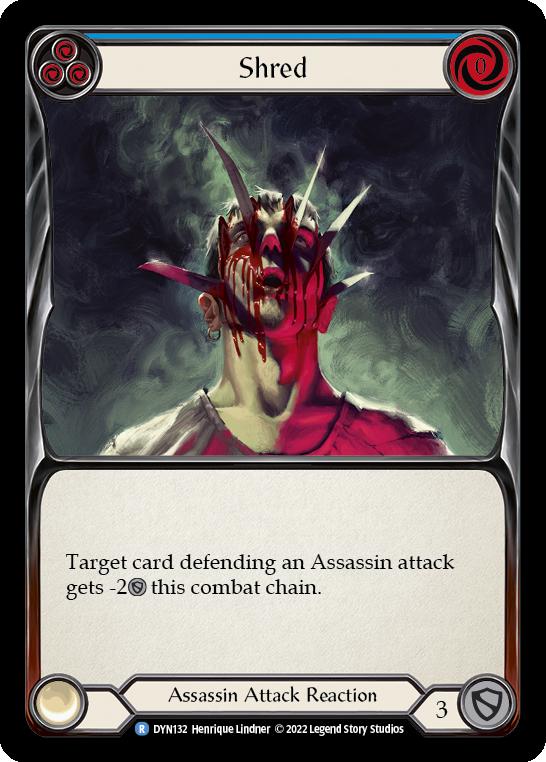
Assassins thrive in what I affectionately call “the Scam.” Assassins have access to numerous powerful attack reactions, however the attack reactions utilized by this type of Uzuri list are Shred, Spreading Plague, and funnily enough, Sigil of Solace. Shred enables an on-hit effect to be pushed through, even affecting non-Assassin cards if pushed through via a stealth card. Spreading Plague, on the other hand, punishes overblocks heavily, drowning an opponent under Bloodrot tokens in a position where they have already attempted to mitigate damage. Lastly, Sigil of Solace punishes overblocks, or anticipating a Shred, via creating a further life swing at functionally no cost.
These various attack reactions cause a fighting game-like mix-up where it’s often impossible to predict which scam an Uzuri is representing and present the correct blocks, as such creating an incremental advantage for the Uzuri player. Having an opponent to block six on a Back Stab only for you to follow up with a Sigil of Solace healing yourself for three is backbreaking and often enough to stabilise a tense, close game. And mastering this mix-up of representation is key to successful Uzuri play.
The Meat
The last piece of the puzzle is the actual threats of the Assassin, the powerful cards that demand blocks, or else your opponent faces powerful disruption or efficient damage.
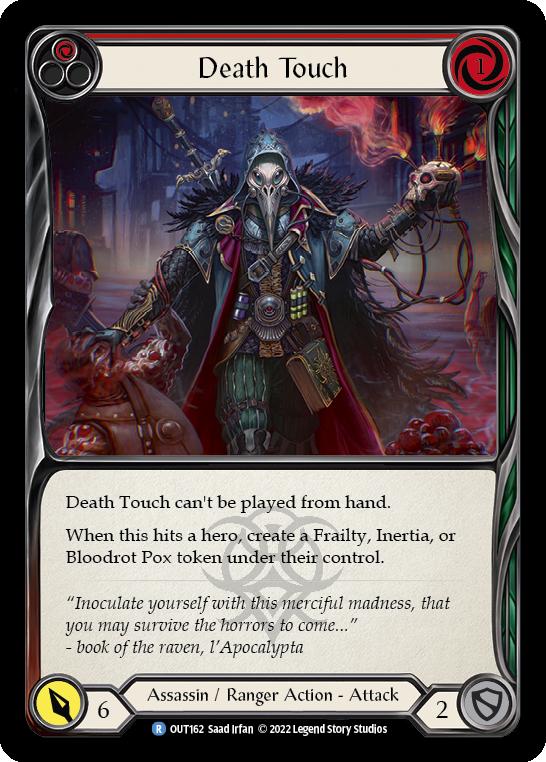
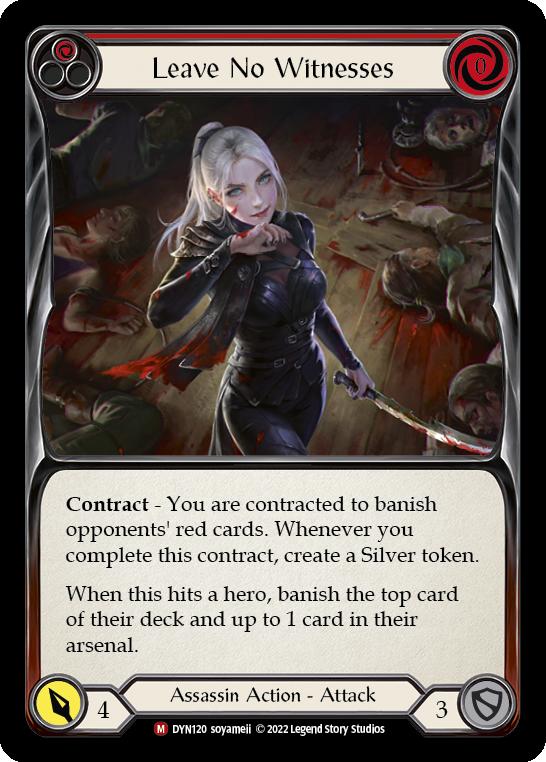
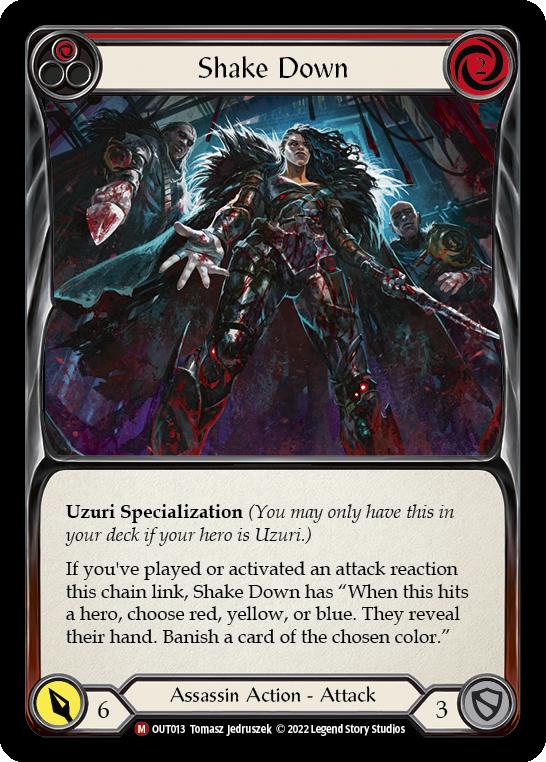
Command and Conquer and Leave No Witnesses are incredibly relevant disruptive tools, ensuring an opponent can never assault you with a synergistic five-card hand, while keeping their assaults relatively neutered. Shake Down is Uzuri’s specialization, disabling an opponent’s hand upon connecting with an attack reaction. Death Touch is Uzuri’s most powerful attack, threatening various afflictions that suit the current board state, Frailty to weaken retaliation, Bloodrot for the raw efficient threat of damage, and Inertia to leave an opponent open on the following turn for another threatening assault.
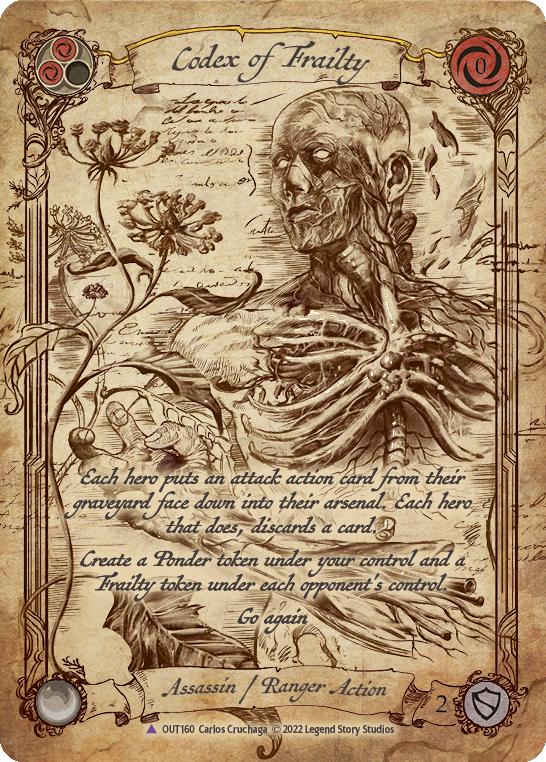
Lastly, Codex of Frailty binds these tools together, providing an efficient way to return these threats, forcing an opponent to have an arsenal for you to threaten with your attacks, blunting their retaliation, and providing powerful card advantage. The usage of these powerful attacks and maximizing your attacks is key as your threat count is numbered as an Assassin. However, with the support of your Daggers, stealth effects, and scams, it’s easier than it seems to chip away at an opponent, even through their blocks.
Dressed to Kill
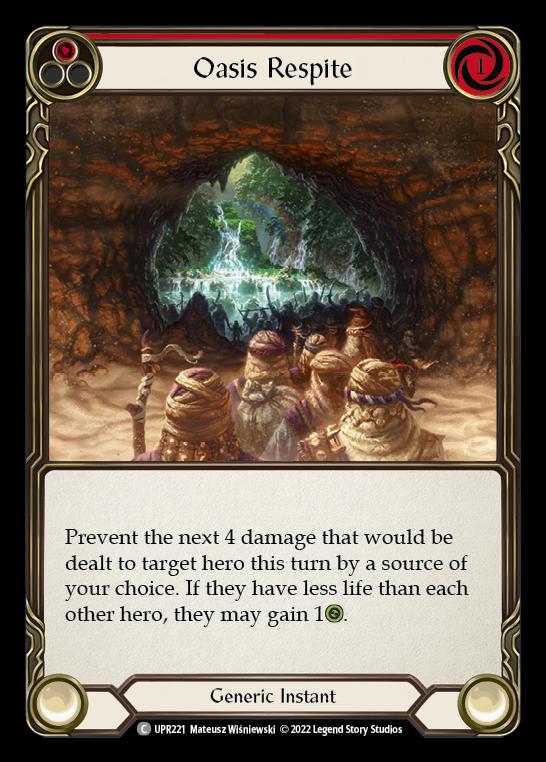
Fyendal’s Spring Tunic is most powerful in a long game whereby its value can be maximized, which is what Assassins aim to achieve. Tunic has many uses, like being able to pitch a blue to Dagger into a two-cost attack (creating an incredibly efficient two-card hand that’s difficult to block), to powerful one-card hands with Death Touch, to casting efficient Oasis Respites, and being able to flash in Spreading Plague when an opponent least expects it. Careful usage of Tunic counters is key to great Assassin (and Flesh and Blood in general), play.
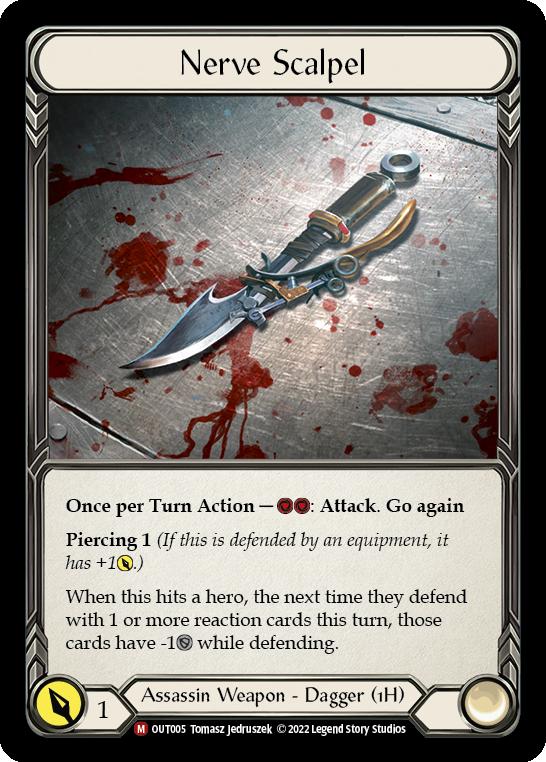
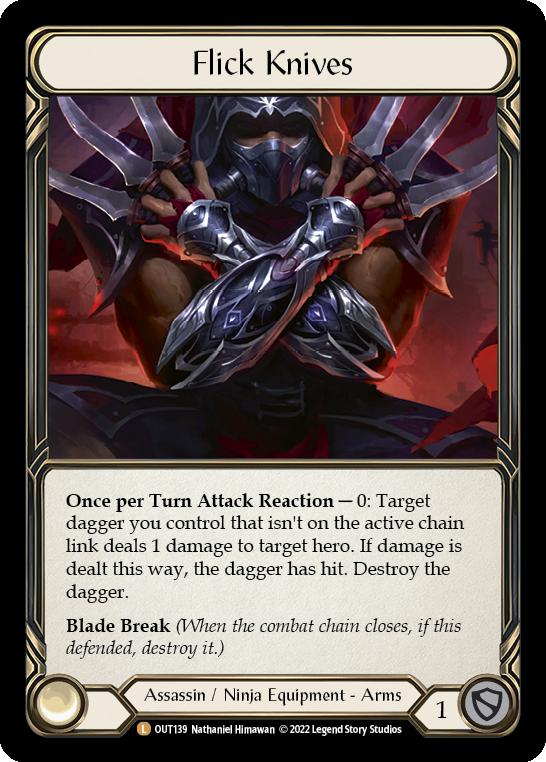
These new Assassin Arms printed in Outsiders are deceptively powerful. The most common usage is tossing a Nerve Scalpel to shrink a defense reaction out of range of blocking a critical on-hit effect, as well as the threat of tossing Daggers to finish off a cornered opponent in an end game. However, what’s most powerful is not the usage of the equipment, but the threat of it.
Most opponents will play around the aforementioned usage of Flick Knives, and utilizing Dagger attacks to manipulate predicted blocks to either play into Flick Knives blowouts or give up blocking the assault altogether. Edging an opponent closer to kill ranges with Flick Knives is also very powerful, and warrants holding onto Flick Knives desperately in the end game to force blocks for opponents.
And, most importantly, Flick Knives also blocks for one.
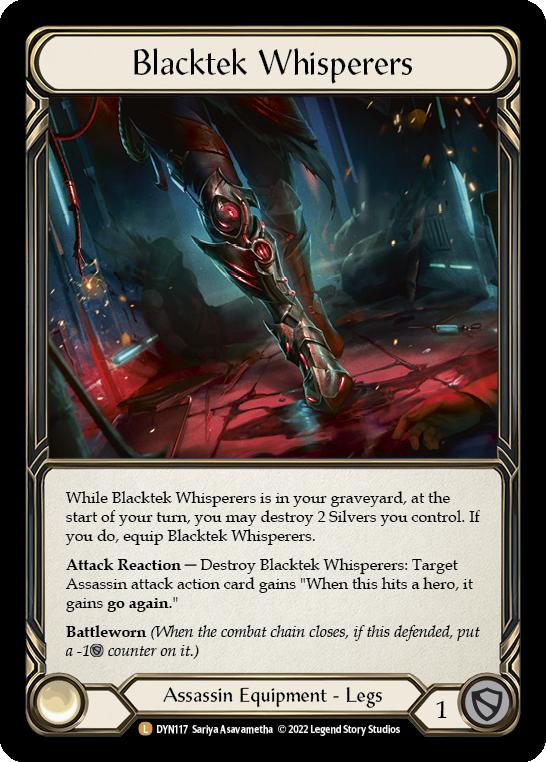
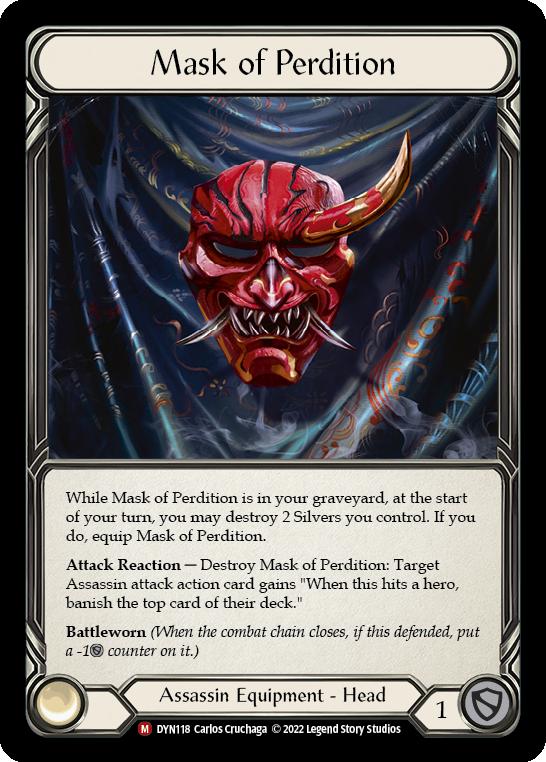
Mask of Perdition/Blacktek Whisperers
These Assassin equipment amplify our blocking ability, allowing us to stop annoying breakpoints, while simultaneously being able to threaten powerful hands with Blacktek Whisperers enabling a powerful multi-attack turn, or Mask of Perdition punishing the lack of blocks on Contract attacks to regenerate more armor for further blocking.
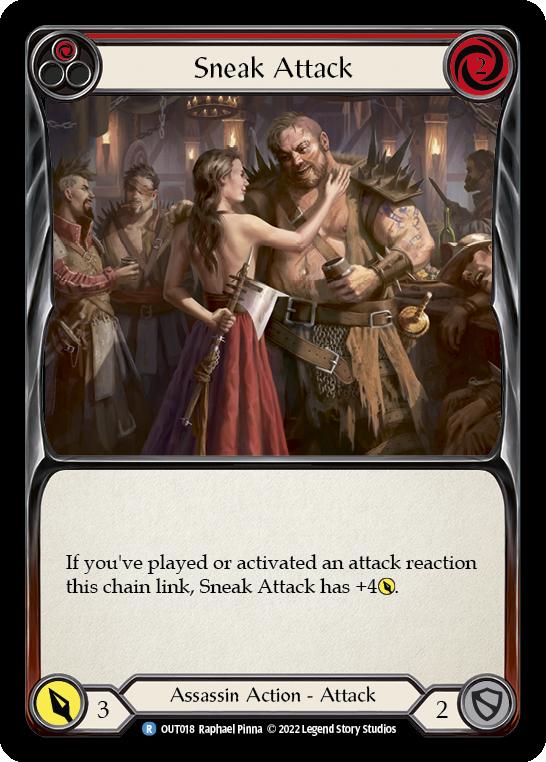
It must also be noted that utilizing these abilities also triggers Shake Down and Sneak Attack‘s attack reaction clause and forces blocks on the aforementioned attacks without you needing to activate the equipment at all.
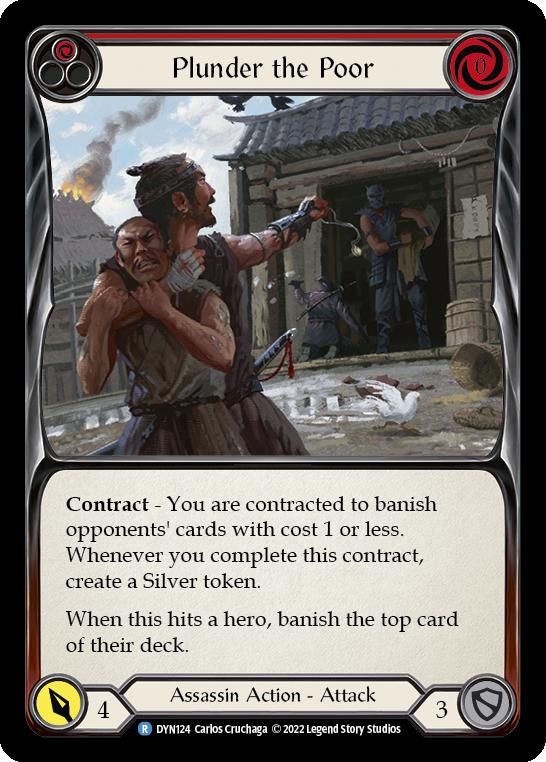
As previously mentioned, Nerve Scalpel’s main use is to lessen the effects of a single defense reaction alongside Flick Knives. However, it also serves well as a mana sink, often going unblocked and chipping an opponent, as they’re are often more fearful of follow-up attacks. Nerve Scalpel is also critical in crippling zero-cost four-defense reactions from cleanly blocking our zero-for-fours such as Leave No Witnesses or Plunder the Poor.
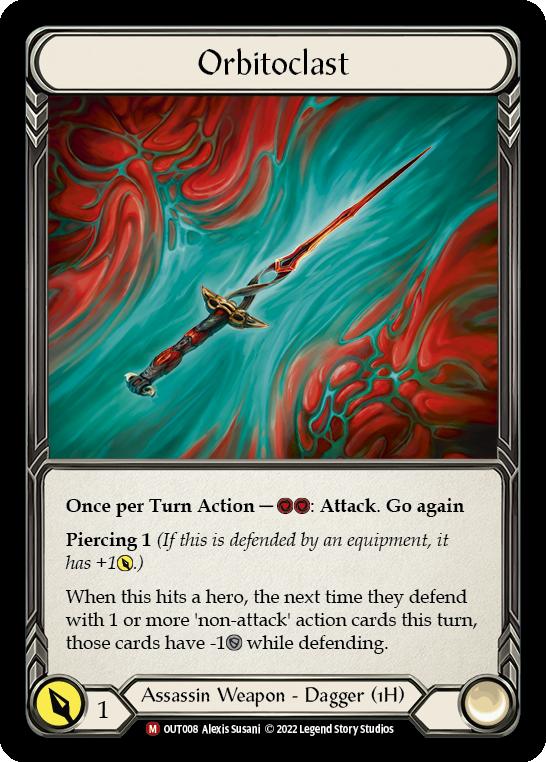
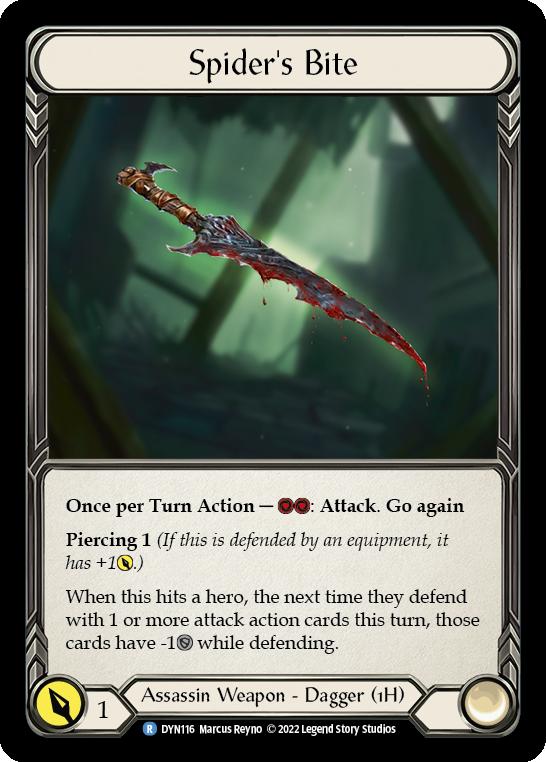
Spider’s Bite & Orbitoclast are powerful weapons, despite being inefficient in terms of damage, causing our attacks to be incredibly difficult to block and disrupt important breakpoints. Knowing when to take damage to swing this weapon to open up an attack is important, and understanding when an opponent would be disadvantaged when threatened by the Dagger is key to proficient Uzuri play.
Additional Tools
The rest of the deck fleshes out and supports the core. Defense reactions keep us alive and in the fight, accelerating our draw to our power cards and letting us be more efficient with smaller hands. The contract cards are efficient in terms of damage, allow us to buy back our equipment for further blocks, and threaten our opponent’s deck, occasionally banishing critical tools to their game plan and neutering the total threat potential of their deck.
Closing Statements
Uzuri is a deck that involves manipulating an opponent’s blocks and play patterns to your advantage and finding opportunities with your unique tools to chip and corner opponents into unwinnable situations. While she looks simple, understanding the various concepts previously mentioned and understanding Uzuri is not a deck that wields raw power to win games will lead to an incredibly fun and rewarding deck that I wholeheartedly recommend.
"The Boss"


Further reading:
Legends, Stories, and Immersive Gameplay
The Genius of Flesh and Blood’s Pitch System
#FABDad – A Guide to Getting Better at Flesh and Blood Quickly!
Jose Lau
As a known brute aficionado, Jose’s placed in several top 8’s throughout various Road to Nationals, ProQuest events, bringing Rhinar to a win at PTI Singapore. Jose also alters trading cards, and can be caught on instagram at @tornadususedsketch! Jose looks forward to participating in Worlds Osaka, 2024!